

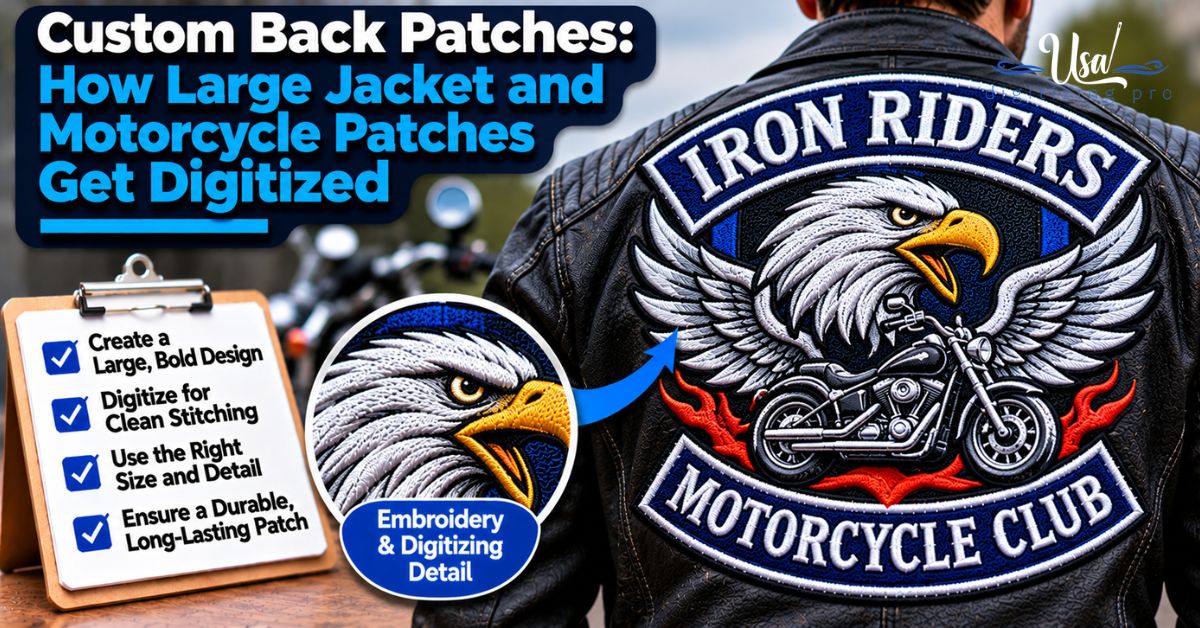
Custom Back Patches: How Large Jacket and Motorcycle Patches Get Digitized
By USA Digitizing Pro Team | Published November 2026 | Updated November 2026
A back patch is the biggest piece of embroidery most people will ever wear. It covers the back of a vest or jacket, gets seen from across a parking lot. It has to survive wind, rain and years on the road. Custom back patches also push a stitch file harder than any small logo does. Big fills pull the fabric. Stitch counts climb fast. One weak setting shows across the entire piece. This post covers one-piece and three-piece layouts, sizing, backing and what the file needs. The build itself is handled through our patch digitizing services.
Quick Answer
Custom back patches are large patches made to cover the back of a jacket or vest. They’re digitized with strong underlay, controlled density and planned stitch paths so large fills don’t pucker. Designs come as one-piece patches or as three-piece sets with a top rocker, center patch and bottom rocker.
| Question | Short answer |
|---|---|
| What is a back patch? | A large patch for the back of a jacket or vest |
| Layouts | One-piece or three-piece with rockers |
| Common backing | Twill or canvas, with sew-on finish |
| Common borders | Merrowed for simple shapes, satin or hot cut for custom shapes |
| Main digitizing risk | Puckering and distortion in large fill areas |
| Digitizing price at USA Digitizing Pro | Large designs are quoted before work starts |
Planning a back piece? Send the artwork, the finished width and the jacket material to art@usadigitizingpro.com for a quote.
What Is a Custom Back Patch?
A large embroidered patch sewn across the back of a jacket, vest or hoodie. Riding clubs use them. So do bands, brands, teams and businesses.
Some are a bold one-color logo. Others are full illustrations. Either way, the size and stitch count make it a very different job from a left chest patch.
One-Piece vs Three-Piece Back Patches: What’s the Difference?
One-piece means the whole design lives in a single patch. Three-piece splits it into a top rocker, a center patch and a bottom rocker.
- Rocker: a curved, banner-style patch that sits above or below the center design.
The top rocker usually holds a name. The bottom one often holds a place. In US riding culture, three-piece layouts are traditionally tied to established motorcycle clubs. Wearing one can signal membership. That’s why many independent riders, riding groups and brands go with a one-piece design. Not sure what’s appropriate? Ask the riding community you belong to before you order.
| Feature | One-piece | Three-piece |
|---|---|---|
| Number of patches | 1 | 3 (top rocker, center, bottom rocker) |
| Files needed | 1 | Usually 3, one per piece |
| Layout freedom | Any shape | Center shape plus curved banners |
| Common use | Brands, bands, riding groups, businesses | Traditional club colors |
| Production | One hooping per patch | Each piece stitched separately |
How Big Should a Back Patch Be?
Size it to the garment and to how far away people will be standing. Then check the producer’s hoop and the space between the seams. Measure across the back of the smallest jacket in the order. That’s the step people skip. A patch that sits perfectly on an XL can hang over the seams on a small. The machine sets a limit too, since the whole patch has to fit in the hoop or be split. Tell your digitizer the finished width in inches before work starts. A file built for one size won’t stitch the same once it’s scaled up.
Why Is Digitizing a Back Patch Harder?
Big areas move. Every fill stitch tugs on the backing a little. Across a large patch, those small tugs add up. Three settings keep it under control. Underlay holds the backing flat before the top stitches go down. Density is kept firm but not tight. That stops the patch going stiff or wavy. Pull compensation keeps outlines lined up with their fills. In big fills the stitch angles are often varied too. That way the pull doesn’t all run in one direction.
Stitch path matters as much as any of those. A planned order finishes one area before moving on. Trims drop. Run time stays reasonable even on a huge stitch count. The same settings show up on smaller work in our post on how to stop embroidery from bunching.
Which Backing Should You Use?
Something heavy and stable. Twill is common. Canvas suits heavy-duty jackets. Canvas needs higher pull compensation, because its tight weave resists the needle. Felt can work for some bold designs. Leather vests are a special case. Back patches on leather are almost always sewn on, since iron-on glue doesn’t bond reliably to leather and the heat can damage it.
Which Border Works Best?
Merrowed for round, oval and rectangle back patches. Satin or hot cut for rockers and custom shapes. Merrowing needs a clear margin of about 3 to 4mm between the design and the cut line. A satin border is stitched into the file itself, which keeps everything in one pass. Our post comparing the merrowed border with heat cut and other patch edges explains each in detail.
How Should Text Be Handled on Rockers?
Bold, readable and evenly curved. The letters should follow the arc without crowding the border. Satin works best for rocker names. Leave a gap between the text and the border stitches. Otherwise the letters merge into the edge. Readability from a distance beats fancy style every time, which rules out thin scripts on rockers.
Can a Back Patch Be Puff or Applique?
Yes. Both are good ways to cut stitch count or add texture on a big design. Applique swaps thread fill for a piece of fabric in large solid areas. Fewer stitches. Less weight. It’s a very common choice for big back pieces. Our post on applique digitizing stitch count reduction shows how much it can save. Raised elements are possible too with 3D puff embroidery patches. Keep the puff to the boldest parts of the design.
What Should You Send Your Digitizer?
Anything that changes the file:
| 1 | Clear artwork, ideally vector. |
| 2 | Finished width and height of each piece in inches. |
| 3 | One-piece or three-piece, plus the rocker text. |
| 4 | Backing material and border type. |
| 5 | Thread colors or Pantone references. |
| 6 | Your machine format or your producer’s format. |
Take a typical order. A riding group wants 40 one-piece back patches for denim vests. The design is a round logo with a skull in the middle and the group name around the edge. That big center fill gets varied stitch angles and firm underlay on twill. The name is satin. The edge is merrowed with a clear margin.
About the Author
USA Digitizing Pro Team. Since 2015 our digitizers have built patch files by hand for US clubs, brands, uniform suppliers and decorators. Large back pieces and rockers are a regular part of the work.
Frequently Asked Questions
It depends on size, stitch count, colors, quantity and border; USA Digitizing Pro quotes large designs before work starts.
A one-piece patch holds the whole design, while a three-piece set adds a top and bottom rocker around a center patch.
No, iron-on glue doesn’t bond reliably to leather; back patches on leather are sewn on.
Longer than a small logo, with timing confirmed in the quote, while standard designs under 5 inches take 2 to 4 hours.
Yes, applique uses fabric for big areas, which cuts stitch count, weight and stiffness.
Yes, stable twill or canvas is needed because large stitch areas pull the material.
Get a Back Patch File Built for Its Size
Custom back patches need files built for large fills, strong backing and clean borders. That’s true for one piece or three.
Follow Us

RELATED BLOGS

How to Digitize Applique Designs: Settings and Values.
Published August 17, 2026 | By USA Digitizing Pro Team Everyone describing applique digitizing lists the same four stages andknowing the stages.
Cap Embroidery Design Tips: Artwork Submission Checklist 2026
Published August 5, 2026 | By USA Digitizing Pro Team The artwork a brand owner submits before a design ever reaches a.