

3D Puff Digitizing for Caps vs Jackets: What Changes Between the Two 2026
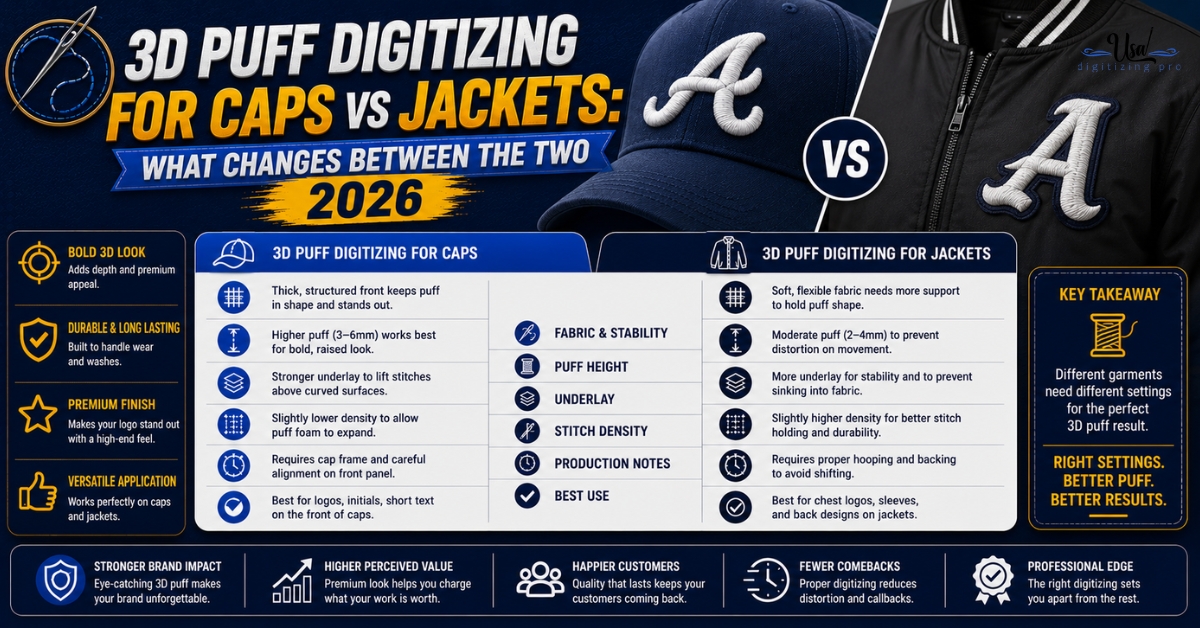
A raised puff logo on a structured cap and the same design on a jacket back look like the same technique from a distance. Once a digitizer opens the file, they’re not close to the same job. 3D puff digitizing for caps vs jackets changes the foam thickness, the hooping approach, and how much detail the design can hold, all because a curved cap front and a flat jacket back put completely different demands on the same raised-stitch technique. Here’s what actually shifts when the same puff design moves from one garment to the other.
Quick Answer at a Glance
Why the Surface Itself Changes Everything
A structured cap front curves across its width and sits on top of stiff buckram backing. A jacket back is flat, larger, and generally softer than a cap’s buckram-reinforced panel. Foam behaves differently under the needle depending on which of these two surfaces it’s sitting on, which is why a puff file built for one doesn’t simply transfer to the other. For the underlying mechanics of how foam and stitching interact regardless of garment, the 3D puff digitizing services overview covers the core technique before either garment-specific adjustment gets applied.
Foam Thickness: The Biggest Practical Difference
Cap puff work typically uses foam in the 2mm to 3mm range. That thinner foam keeps the raised design manageable on a curved surface, since thicker foam becomes harder to compress evenly across a curve without shifting or bunching at the edges. Jacket backs, being flat and often backed by heavier fabric, support foam in the 4mm to 6mm range, giving a noticeably taller, more dramatic raised effect that would look disproportionate or risk sink-in problems if attempted on a cap.
Hooping: Curved vs Flat
Caps load onto a cap-specific hoop shaped to hold the curve of the front panel steady while the machine stitches. Getting foam placement right on a curved hoop takes more care, since the foam has to sit evenly across a surface that isn’t flat to begin with. Jackets hoop like most flat garments, using a standard hoop that holds the back panel taut and flat. This more forgiving hooping is part of why jacket puff work tolerates thicker foam and larger designs than cap work generally allows.
Design Complexity and Detail: Why Jackets Can Hold More
A cap front has a narrower usable width and a curve that limits how much fine detail a puff design can carry before it starts distorting. Jacket backs offer a larger, flat canvas, which means letterforms, secondary elements, and multi-part logos can hold detail levels that would blur or lose shape on a cap. This is one of the more overlooked practical differences between the two placements: a design perfectly readable as a jacket back puff logo may need real simplification before it works as a cap front version of the same design.
Why the Same File Can’t Simply Move Between the Two
Here’s the detail that trips up buyers ordering both cap and jacket versions of the same logo. Column width, foam thickness, and underlay are all set relative to the specific surface and foam height involved. A file built for 3mm foam on a curved cap front doesn’t translate to 6mm foam on a flat jacket back without being rebuilt, since the satin columns that fully wrapped 3mm foam won’t necessarily cover 6mm foam cleanly. Ordering both placements means ordering two builds, even when the artwork itself is identical.
Side-by-Side: Cap vs Jacket Puff Digitizing
Why Jacket Puff Work Isn’t Automatically Easier
It’s tempting to assume flat and larger means simpler, but jacket puff work brings its own challenge: thicker foam needs wider satin columns and more thread coverage to fully wrap the taller foam edge, which adds build time even though the surface itself is more forgiving than a cap’s curve. A cap file might be quicker to build due to its smaller size, while a jacket file takes longer due to foam height, even though the flat surface makes the actual stitching more predictable.
Choosing Foam Thickness for Your Specific Order
- Confirm the garment first: cap front, jacket back, or another surface entirely.
- For caps, expect foam in the 2mm to 3mm range unless a specific reason calls for more height.
- For jackets, 4mm to 6mm foam is standard, with height chosen based on how dramatic you want the raised effect to look.
- Flag any fine detail so the digitizer can tell you upfront whether it needs simplifying for the intended surface.
- If ordering both a cap and jacket version of the same logo, expect two separate builds rather than one reused file.
A Real Order, Broken Down
A skateboard brand in California ordered a puff wordmark for both a snapback cap and a varsity jacket back, submitting one piece of artwork for both. The digitizer built two separate files: the cap version used 2.5mm foam with a slightly simplified wordmark to hold cleanly on the curved front, while the jacket version used 5mm foam with the full original detail, including a small drop shadow element that wouldn’t have held on the cap at all.
Both versions ran cleanly in production. The brand noted that side by side, the jacket version read as noticeably bolder and taller, exactly the difference in foam height the two surfaces called for.
Who Builds These Files
USA Digitizing Pro has built 3D puff files for both cap and jacket placements from its Texas studio since 2015. Every file is built by hand, with foam thickness and column width matched to the specific garment rather than reused across surfaces. Standard turnaround runs 2 to 4 hours, and every file carries a money-back quality guarantee.
Frequently Asked Questions
The artwork can be the same, but the digitizing file needs to be rebuilt for each surface, since foam thickness, column width, and underlay are all set relative to the specific garment and foam height involved.
Caps use thinner foam, typically 2mm to 3mm, because their curved, buckram-backed surface doesn’t support thicker foam evenly. Jacket backs are flat and can support taller foam, typically 4mm to 6mm, for a more dramatic raised effect.
Jacket backs generally hold more detail due to their larger, flat surface. Cap fronts are narrower and curved, which pushes toward bolder, simplified letterforms and shapes.
It’s less common, since unstructured caps have less buckram support to hold the raised foam shape steady. Structured caps with firm buckram fronts are the standard choice for cap-based puff work.
Not inherently by placement type, though larger designs with thicker foam and more coverage area generally take longer to digitize, which can affect cost depending on the specific studio’s pricing structure.
Yes. A common approach keeps the main design element as puff and stitches finer supporting details, like small text or logos, as flat embroidery within the same file.
A digitizer typically recommends foam thickness based on the garment, the design’s letterform boldness, and how dramatic a raised effect you want. Sharing both the artwork and the intended garment upfront gets the most accurate recommendation.
Foam color matching to the thread matters on both, since a mismatched color can show as a visible edge where coverage is thin. This consideration doesn’t change meaningfully between cap and jacket placements.
This often traces back to foam thickness being too thin for the design’s column width, or underlay being set too aggressively for a curved cap front, both of which can compress the foam more than intended during stitching.
Not reliably. Resizing changes dimensions but not the underlying foam thickness, column width, or underlay decisions, which need to be rebuilt specifically for the cap’s curve and thinner foam requirement.
Building the Right File for Each Surface
3D puff digitizing for caps vs jackets comes down to foam thickness and surface shape: thinner foam and bolder simplification for a curved cap front, thicker foam and more design latitude for a flat jacket back. Treating them as the same build is the most common mistake buyers make when ordering both placements. USA Digitizing Pro builds each surface separately by hand, backed by a money-back quality guarantee.
Follow Us

RELATED BLOGS
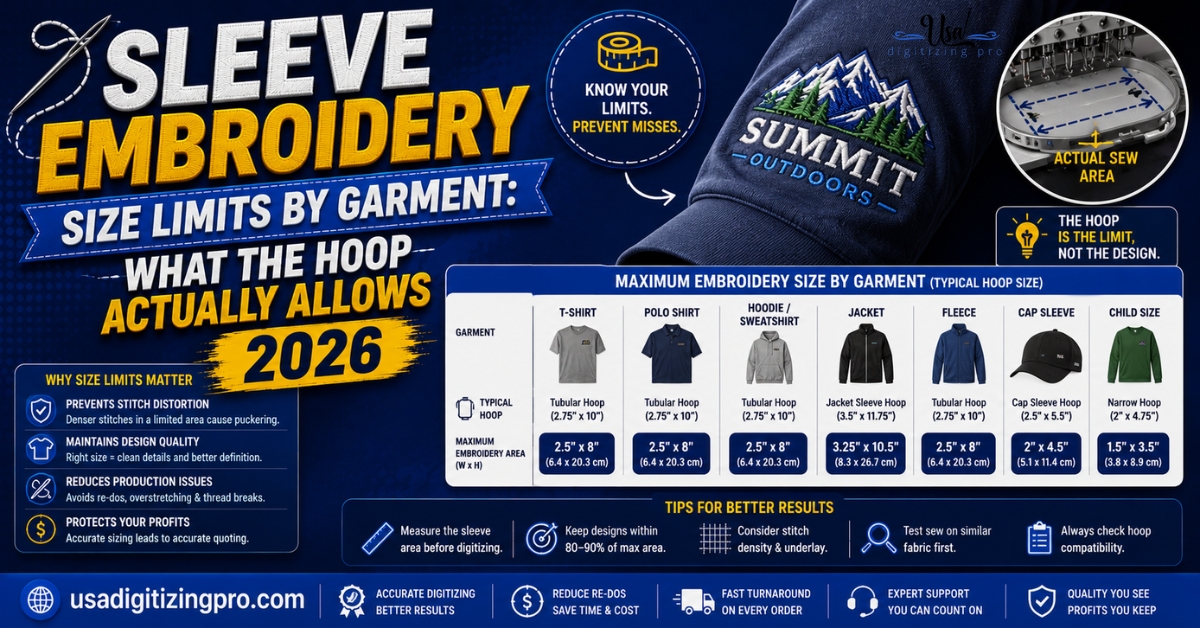
Sleeve Embroidery Size Limits by Garment: What the.
A sleeve isn't a flat panel, and the hoop that holds it in place while it stitches isn't square either. Sleeve embroidery.
How to Convert JPG to PES File for.
USA Digitizing Pro is a Texas-based embroidery digitizing studio founded in 2015. The team builds machine-ready stitch files for Brother, Tajima, Janome,.
2 COMMENTS
[…] flattening the raise, so removing it recovered the height the brand had ordered in the first place. the caps versus jackets puff comparison covers how these settings shift between curved and flat […]
[…] why puff settings that work perfectly on a flat garment need adjustment before they run on a cap. the caps versus jackets puff comparison covers what changes between the two […]