
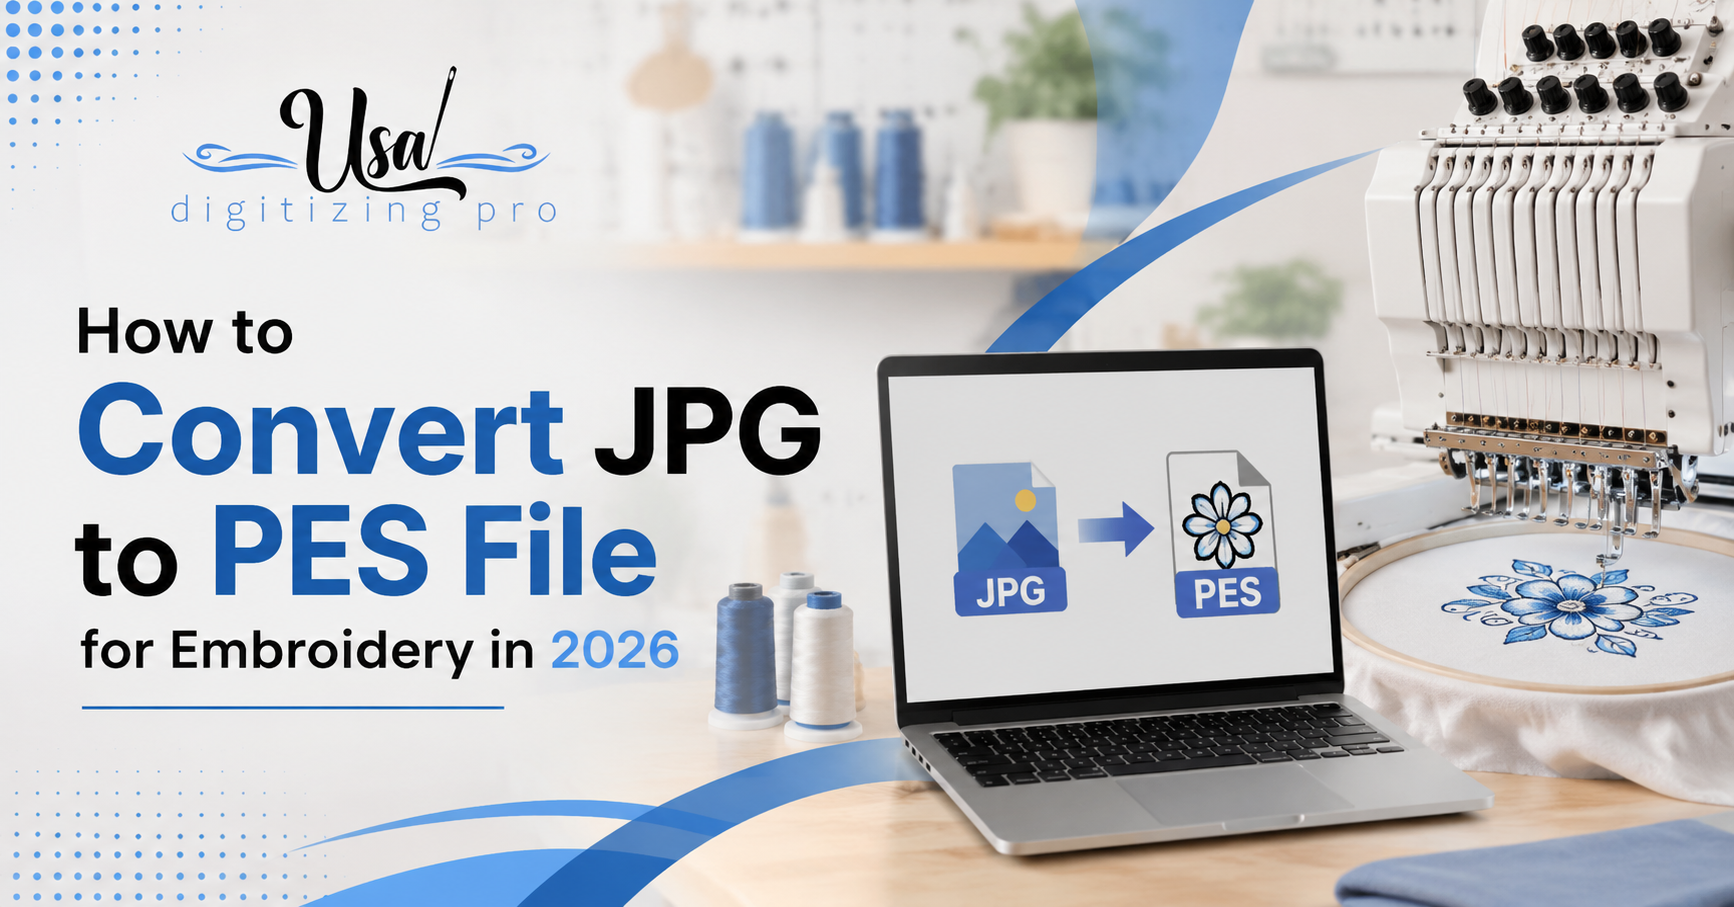
How to Convert JPG to PES File for Embroidery in 2026
USA Digitizing Pro is a Texas-based embroidery digitizing studio founded in 2015. The team builds machine-ready stitch files for Brother, Tajima, Janome, and other commercial embroidery machines for apparel brands and decorators across the USA.
You have a logo saved as a JPG. You have a Brother embroidery machine that reads PES files. The problem is that one is a picture and the other is a set of stitch instructions, and a machine can’t turn one into the other on its own. That’s the gap people run into when they search for how to convert JPG to PES file embroidery, and it’s a gap that needs a real explanation rather than a list of software names.
This post covers what’s actually happening during the conversion, why online auto-converters produce poor results, how to do it yourself using digitizing software, and when sending the file to a professional digitizer makes more sense. By the end, you’ll know exactly which route fits your situation.
Quick Answer
What a JPG File Is and Why It Can’t Run on an Embroidery Machine
A JPG file is a compressed photograph format. It stores color data as a grid of pixels millions of tiny colored squares that together form an image. The file tells a screen what color to display at each pixel coordinate. That’s all it does.
An embroidery machine reads something completely different. It needs to know where to move the needle, what stitch type to use, how dense to place the stitches, when to trim the thread, and in what order to change thread colors. None of that information exists in a JPG. A JPG has no concept of stitch paths, thread density, or needle movement.
This is why there’s no real one-click conversion from JPG to PES. You’re not converting one data format to another equivalent format. You’re building a completely new set of instructions that tells a machine how to recreate the visual content of the image using thread and needle.
What a PES File Actually Contains
PES is Brother’s embroidery file format. It stores a precise machine instruction set rather than visual pixel data.
Inside a PES file: stitch coordinates (X/Y positions for every needle penetration), stitch type codes (fill, satin, run, or other), thread color change commands, jump stitch and trim instructions, design size metadata, and the sequence order for all elements. A typical logo digitized at 3.5 inches wide might contain 8,000 to 15,000 individual stitch coordinates in a single PES file.
PES files work on Brother and Babylock machines. If you have a Tajima or Barudan commercial machine, you need a DST file instead. Janome machines use JEF. Husqvarna uses VIP or VP3. For a full breakdown of which format goes with which machine, embroidery file formats explained covers the major types and their compatibility.
The Three Methods to Convert JPG to PES
There are three routes. Each has a different skill requirement, cost, and quality outcome.
Method 1: Online Auto-Converters
Websites that claim to convert JPG to PES in one click are converting the file wrapper, not building actual stitch instructions. What comes out is either an empty PES shell or a file with auto-generated stitch patterns that bear little resemblance to the original image. These files often fail to load on the machine or produce a result that looks nothing like the source artwork.
Not always useless. For abstract fill patterns or single-color geometric shapes with no detail requirements, an auto-converter might produce something functional. For any logo, text, or artwork where accuracy matters — skip it.
Method 2: DIY Digitizing Software
Real digitizing software lets you import the JPG and manually map stitch paths over the image. This is how professional digitizers work, though they do it faster and with more precision than a beginner. The software tools available for this include:
- Brother PE-Design: Made specifically for Brother machines. Outputs PES directly. Has auto-trace functions that can simplify the process for simple designs. Paid software with a significant upfront cost.
- Embird: Versatile cross-format software. Handles many file types. More technical to learn than PE-Design but widely used by professionals.
- SewArt: Lower cost than the professional options. Suited to simpler designs and beginners. Auto-digitizes from images with limited manual control.
- Wilcom Hatch: Professional-grade software used by commercial digitizers. High capability and high price. Full manual control over every stitch decision.
- Ink/Stitch: Free Inkscape extension. Open-source. Works for basic designs. Limited compared to paid tools and requires comfort with Inkscape’s interface.
The honest reality of DIY software: the auto-trace or auto-digitize function in any of these tools produces a starting point, not a finished file. Getting a clean PES file from a JPG using software requires manual work — tracing outlines, assigning stitch types, adjusting density, setting pull compensation, and reviewing the stitch simulation before export. Expect to spend hours learning the software before producing a file that runs cleanly.
Method 3: Professional Digitizing Service
Send the JPG to a professional digitizer. They build the PES file by hand using commercial software, review the stitch path logic, adjust compensation settings for the target fabric, and deliver a production-ready file. You run it on your machine without touching digitizing software yourself.
This is the fastest route for anyone who needs the file to actually work. USA Digitizing Pro builds every file by hand — no auto-digitizing shortcuts. The how digitizing improves stitch quality post explains exactly what hand-built digitizing produces that software auto-trace can’t.
Step-by-Step: Converting JPG to PES Using Digitizing Software
If you’re going the DIY route with software like SewArt or Brother PE-Design, here is the process:
- Prepare the JPG. Use a high-resolution image with clean edges and high contrast between elements. Low-res or blurry JPGs produce poor digitizing results regardless of the software. If the source has a background, remove it first using a tool like remove.bg and save the result as a PNG before importing.
- Open the digitizing software and import the image. Most paid tools accept JPG, PNG, PDF, and SVG.
- Resize the design to the target embroidery dimensions. Set the final output size before starting any stitch work. Resizing after digitizing degrades the stitch path quality.
- Run the auto-trace function if available. This converts the image outlines into vector paths the software can use as a base for stitch mapping. Review the result carefully — auto-trace almost always requires manual correction on logos and detailed artwork.
- Assign stitch types to each element. Fill stitches for large solid areas. Satin stitches for borders, text, and columns under about 12mm wide. Run stitches for outlines and fine detail lines.
- Set stitch density. Standard density for most fabrics is around 0.4mm to 0.5mm per line. Dense fills at 0.3mm or tighter look richer but slow machine run time and can cause fabric distortion.
- Add underlay. Underlay stitches run before the top stitches and flatten the fabric surface. Without underlay, top stitches sink into the weave and the design loses definition. Most software has automatic underlay options per element.
- Review the stitch simulation. Most paid software shows a preview of how the design will sew. Check the stitch sequence, color order, and coverage before exporting.
- Export as PES. Choose the PES version compatible with your specific machine model if the software offers version options (PES v6, v10, etc.).
- Run a test sew-out on scrap fabric at the target size before committing to the final garment.
Why Online JPG to PES Converters Fail (The Technical Reason)
Most online converters that claim to turn a JPG into a PES file are doing something much simpler than actual digitizing. They’re either wrapping the image data inside a PES file container without building real stitch instructions, or running a basic auto-trace algorithm that maps pixel boundaries to approximate stitch paths without any density, underlay, or sequence logic.
What comes out looks like a PES file. The extension is correct. The machine may load it. But the stitch map is generated from pixel color boundaries with no understanding of how fabric behaves, what stitch type fits each shape, or how to sequence elements for clean production. Thread breaks, gaps between fill sections, no underlay, and incorrect stitch angles are standard outputs from these tools on anything more complex than a simple geometric shape.
You’ve probably tried one of these and been disappointed. That’s not a failure of your image or your machine. It’s a limitation of what automated pixel-to-stitch conversion can produce without human judgment guiding every decision in the file.
How to Prepare a JPG for Better Digitizing Results
The quality of the input image directly affects the quality of the digitized output. This applies whether you’re using software yourself or sending it to a professional service.
Resolution
Use an image at least 300 DPI at the intended output size. A logo saved at 72 DPI from a website will digitize poorly because the pixel edges are soft and the software or digitizer can’t trace clean outlines. If you only have a low-res version, ask the digitizer — many can work from a description or reference and rebuild the design rather than tracing a blurry image.
Background Removal
A transparent background (PNG format with no background) makes digitizing cleaner. A JPG with a white or complex background forces the digitizer to identify which elements belong to the design and which are background fill. Remove the background before sending if possible.
Color Simplification
Embroidery works with solid thread colors, not gradients or photographic color ranges. A logo with 3 solid colors is straightforward. A photo with 200 color variations needs significant simplification before it can become a stitch file. The more you can simplify the color count before submission, the closer the final stitch file will be to the original design intent.
Vector Source When Available
If an AI, EPS, or SVG version of the logo exists, use that instead of the JPG. Vector files have clean, scalable edges that digitizing software traces more accurately than pixel-based images. The JPG is the fallback when a vector isn’t available.
For designs where the source artwork needs to be converted to vector before digitizing, jpg to vector conversion covers how that step works and when it’s worth doing before digitizing.
When to DIY vs When to Hire a Professional
Here’s a practical decision framework. DIY makes sense when:
- You run embroidery as a hobby and the learning curve is part of the appeal.
- The design is simple a few solid shapes, minimal text, no fine detail.
- You have time to iterate through test sew-outs and adjust the file over several sessions.
- You already own digitizing software and have basic familiarity with it.
Professional digitizing makes sense when:
- The logo is complex multiple colors, fine text, gradient areas, or intricate shapes.
- You need the file to run cleanly on the first production pass across a batch of garments.
- You don’t have digitizing software or don’t want to invest time learning it.
- The file needs to work across different fabrics or placement sizes and you can’t afford test errors.
- The turnaround time matters you need a working file in hours, not days.
USA Digitizing Pro handles the full conversion from JPG to PES for logos of any complexity. The file is built by hand, reviewed for stitch path logic, and delivered in 2 to 4 hours. Starting at $10 for designs under 5 inches. Send the JPG to sales@usadigitizingpro.com with the target size and any placement details. For a look at how design complexity affects the digitizing process, common embroidery digitizing mistakes shows the specific decisions that separate a clean file from a problem one.
Real Example: Logo JPG to Production PES
A San Antonio yoga studio sent a JPG of their logo to USA Digitizing Pro. The logo had a lotus flower icon with thin petal lines, the studio name in script lettering below it, and a tagline in small caps beneath that. Total design at 3.5 inches wide for left chest placement on polo shirts.
The lotus petals had lines under 1mm thick in the original — too fine to reproduce at that size in embroidery. The digitizer simplified the petal structure to five solid shapes, removed the inner line detail, and rebuilt the script lettering at a slightly bolder stroke weight to keep it legible at left chest dimensions. The tagline in small caps was increased from the JPG’s 4pt equivalent to a 5mm cap height for clean satin stitching.
The PES file was delivered in three hours. The studio ran it on 60 polo shirts for their front desk staff without a single thread break. The simplified lotus read clearly at arm’s length and matched the original artwork intent at the scale where embroidery can actually reproduce it.
Get Your JPG Converted to PES
Converting a JPG to a PES embroidery file requires digitizing, not just format conversion. Whether you use software to do it yourself or send the file to a professional, the process is the same: map every stitch manually, set the right parameters for the fabric and size, and review before the first sew-out. If you want the file done right the first time, email the JPG to sales@usadigitizingpro.com with your target size and machine type. USA Digitizing Pro delivers a hand-built PES file in 2 to 4 hours, starting at $10. For the complete range of file formats and placements handled, the services page has the full list.
FAQs | Convert JPG to PES File
Not in a meaningful way. Some online tools claim to do this but they produce unusable stitch files for anything beyond the simplest shapes. A real JPG to PES conversion requires digitizing software or a professional digitizer. The software maps every stitch manually from the image. Without that step, you don’t have a PES file — you have a file with a PES extension that may not load or sew correctly.
Brother embroidery machines use different PES versions depending on the model. Newer machines like the PE800 and PE900 support up to PES v10. Older machines may only support PES v1 through v6. When ordering a digitized file or exporting from software, check your machine’s manual for the supported PES version. Using a newer version on an older machine often causes loading errors. If unsure, PES v6 is broadly compatible across most Brother models released in the last 15 years.
Most standard logo files take 2 to 4 hours at USA Digitizing Pro. Simple single-color designs with no fine detail land at the shorter end. Complex multi-color logos with fine text and intricate shapes take longer. Rush turnaround is possible for urgent orders. DIY digitizing with software takes significantly longer for beginners a first attempt at a moderately complex logo can take a full day or more including test sew-outs and adjustments.
The screen preview in digitizing software and the actual sewn result differ for several reasons. Thread has physical width, which causes fills to appear denser and text to appear bolder than on screen. Fabric stretches under needle pressure, which shifts design dimensions unless pull compensation is set correctly. And screen colors don’t match thread colors directly — monitor RGB values don’t map to thread color codes. Always run a test sew-out on scrap fabric before the final production run.
Yes. PNG, PDF, AI, SVG, and EPS files all go through the same digitizing process as JPG. PNG is often preferred over JPG for digitizing because it supports transparent backgrounds, which makes it easier to isolate the design from the background before tracing. PDF and AI/EPS files that contain vector data are the best starting point because the clean vector edges produce more accurate stitch paths than pixel-based images.
PES is Brother and Babylock’s format. It stores thread color data, stitch type codes, and design metadata alongside the stitch coordinates. DST is the Tajima format used by most commercial multi-head embroidery machines. DST doesn’t store color data color changes are indicated only by stop commands, and the operator assigns thread colors manually at the machine. Most professional digitizing services deliver both formats or convert between them on request.

RELATED BLOGS
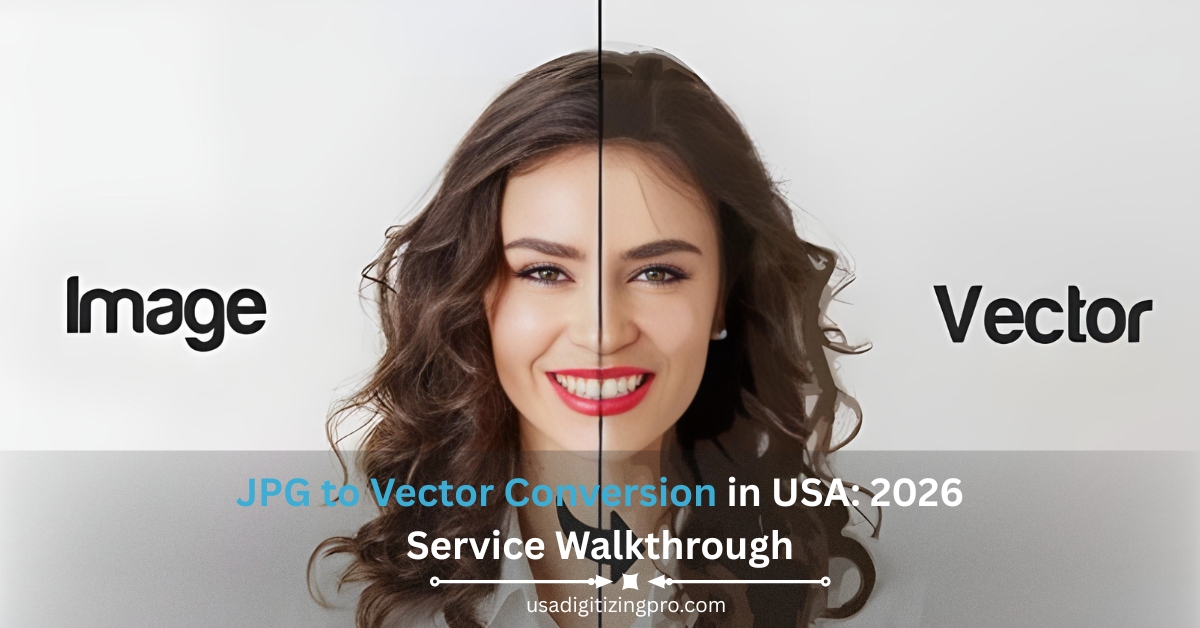
JPG to Vector Conversion in USA: 2026 Service.
You uploaded your logo to a printer. The proof came back blurry. Or the embroiderer asked for a vector file and you.
