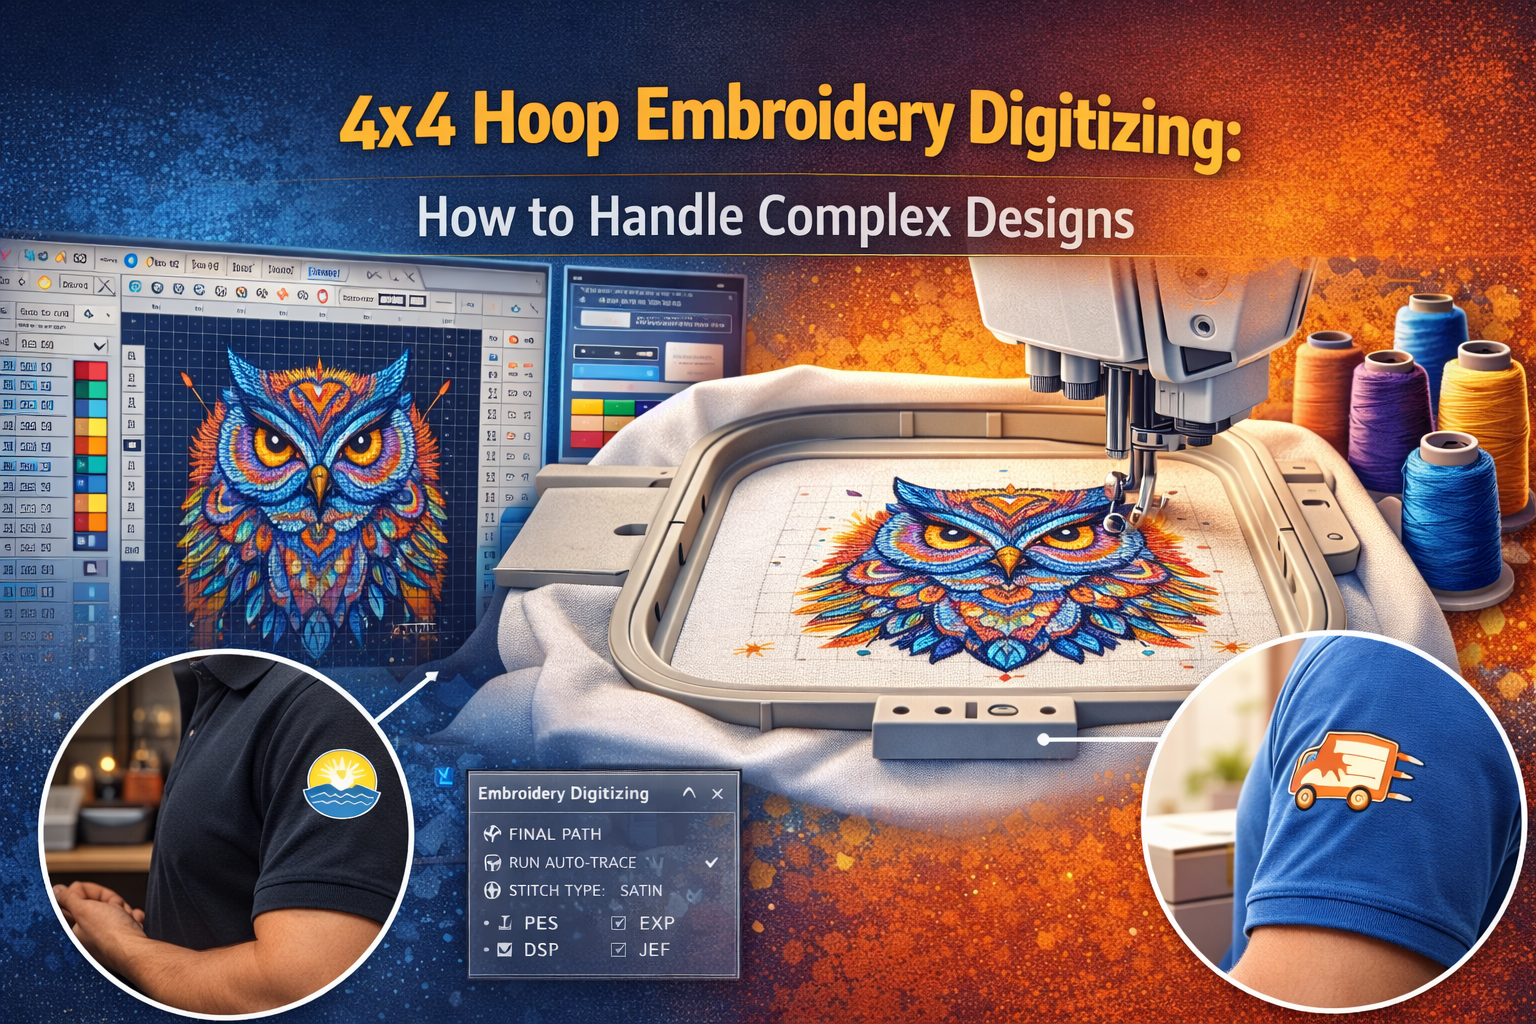
4x4 Hoop Embroidery Digitizing: How to Handle Complex Designs

- March 27, 2026
- By SEO
- 47
- Uncategorized
A 4×4 hoop is one of the most common sizes used in embroidery, especially for home machines. But it is also one of the most limiting. Complex designs often do not translate well into such a small space without adjustments.
This is where 4×4 hoop embroidery digitizing becomes essential. Instead of forcing a detailed design into a restricted area, the design must be simplified and optimized. With the right approach, even complex patterns can be adapted to fit within a 4×4 hoop while still maintaining clarity and visual impact.
Challenges of 4×4 Hoop Embroidery
Working within a small hoop creates several limitations that directly affect how designs stitch out. These challenges are the main reason why digitizing for small hoop embroidery requires a different approach.

Key Challenges:
- Limited design area: Only a small space is available, forcing design compression
- Loss of detail: Fine elements become unclear or merge together
- High stitch density risk: Overcrowding leads to thread buildup and puckering
- Small text readability issues: Thin fonts become unreadable
These limitations mean that designs must be adjusted before stitching, not after.
Why Digitizing Is Critical for Small Hoop Embroidery
Embroidery machines do not interpret designs creatively. They follow instructions exactly as digitized. This is why poor digitizing leads to overcrowded stitches, distortion, and poor results.

Proper digitizing ensures that every stitch is placed with intention. It controls spacing, density, and direction so the design fits within the hoop without losing clarity.
For example, when a design is prepared through a custom logo digitizing service in the USA, it is adjusted specifically for embroidery constraints rather than just resized. This is a key difference that directly affects quality.
Without proper digitizing, even simple designs can fail in a small hoop.
How to Digitize Complex Patterns in 4×4 Hoop Embroidery
To make complex designs work in a small hoop, digitizing must focus on simplification and control. The goal is not to fit everything, but to keep what matters.

Key Strategies:
- Simplify the design: Remove unnecessary elements that do not add value
- Reduce unnecessary details: Focus on core shapes and structure
- Optimize stitch density: Prevent thread buildup and fabric stress
- Adjust stitch direction: Helps maintain shape and avoid distortion
- Break the design into sections: Improves stitching flow and clarity
- Prioritize readability over complexity: A clean design always looks better than a crowded one
These how to digitize complex patterns in 4×4 hoop embroidery strategies ensure that designs remain effective despite size limitations.
4×4 Hoop Embroidery Design Tips
Designing specifically for a small hoop makes a big difference in the final output. Small adjustments can significantly improve clarity and stitching quality.

Practical Tips:
- Use bold elements: Strong shapes are easier to stitch and see
- Avoid very small text: Keeps designs readable
- Maintain spacing between elements: Prevents merging and clutter
- Scale designs properly: Do not shrink complex designs without adjustments
- Test before final production: Helps identify issues early
For designs that need cleanup before digitizing, refining artwork through Vector Artwork helps simplify shapes and improve stitch results.
Common Mistakes in Small Hoop Digitizing
Many issues in small hoop embroidery come from avoidable mistakes. Recognizing these helps improve both design and production quality.

Common Mistakes:
- Overcrowding the design: Trying to fit too much into a small space
- High stitch density: Causes puckering and thread breaks
- Ignoring spacing: Leads to merged elements
- Using auto-digitizing: Often creates inefficient and messy stitch paths
These problems are frequently seen in poorly prepared files and can be avoided with proper planning.
FAQs
Can complex designs be used in a 4×4 hoop?
Yes, but they must be simplified and optimized to fit within the limited space.
Why does small hoop embroidery lose detail?
Because fine elements become too small to stitch clearly and may merge together.
How do I improve readability in small embroidery designs?
Use bold shapes, avoid small text, and maintain proper spacing.
Is auto-digitizing suitable for 4×4 hoop designs?
It is not recommended because it often results in inefficient, overcrowded stitch paths.
What is the most important factor in small hoop embroidery?
Proper digitizing, as it controls how the design fits and stitches within the limited area.
Working within a small hoop does not mean sacrificing quality. It simply requires a smarter approach. 4×4 hoop embroidery digitizing focuses on simplification, spacing, and proper stitch planning to ensure clean and readable results. Instead of forcing complex designs into a limited space, adapting them through proper digitizing makes all the difference. For consistent and professional output, working with the best custom embroidery digitizing services in the USA ensures your designs are optimized for small hoop constraints from the start.
RELATED BLOGS

Browse Exclusive Embroidery Patterns To Upgrade Your Next.
Shop embroidery patterns available only to upgrade your next project. Find out reliable services for digitizing embroidery that will create designs you.

Experts Behind Embroidery Design Services and Hat Machine.
In today’s design-driven world, embroidery has become more than decorative detail, it’s a storytelling tool, stitched into uniforms, merchandise, caps, and branded.

