

Sleeve Embroidery Size Limits by Garment: What the Hoop Actually Allows 2026
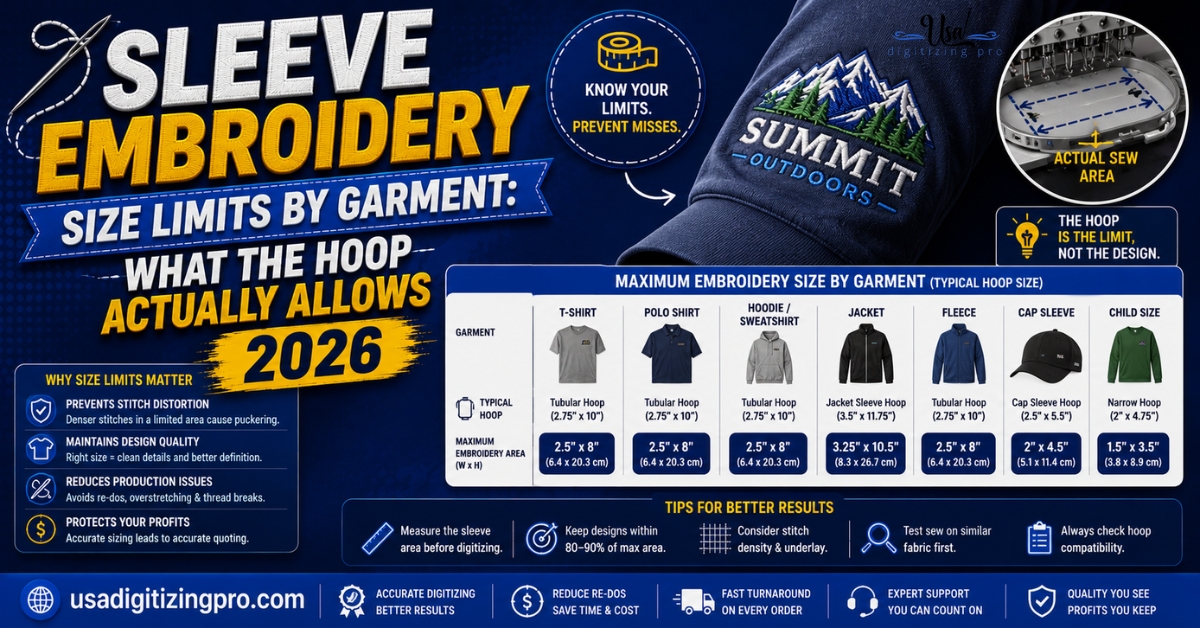
A sleeve isn’t a flat panel, and the hoop that holds it in place while it stitches isn’t square either. Sleeve embroidery size limits by garment come down to two things buyers rarely think about together: how the specific garment’s sleeve is shaped, and how the circular sleeve hoop constrains a design regardless of how much room the fabric itself seems to offer. A design that fits comfortably on a t-shirt sleeve can be too wide for a closed jacket cuff. Here’s how the limits actually break down by garment type.
Quick Answer at a Glance
Why Sleeve Placement Has Different Rules Than Chest Placement
Chest logos stitch onto a flat panel loaded into a standard rectangular hoop. Sleeves are cylindrical, narrower, and often closed at the cuff, which means a completely different hoop has to grip the fabric: a circular or sleeve-specific hoop that physically limits how large a design can be regardless of how much open fabric the sleeve appears to have. This is the detail most sizing guides skip. The garment’s visible surface area isn’t the limiting factor. The hoop that can actually reach that surface area is.
Size Limits by Garment Type
Why Closed Cuffs Cut the Size Limit Down
A jacket or sweatshirt cuff that doesn’t open flat forces the sleeve hoop to load from the shoulder end of the sleeve, working through a narrower tube of fabric rather than a flat opened panel. That physical constraint is why closed-cuff garments max out around 2.5 inches wide, noticeably tighter than the roughly 3.5 inch ceiling on an open sleeve. This isn’t a design choice or a stitch quality issue. It’s a direct result of what the hoop can physically reach once the garment is loaded.
Where a Sleeve Logo Actually Sits
Standard sleeve placement centers the design about 1 to 2 inches below the shoulder seam, which keeps it visible without crowding the underarm seam or wrapping too far around the sleeve’s curve. Going lower than that range risks the design curving awkwardly around the arm rather than sitting flat and readable from a front or side view.
Why Design Shape Matters More on Sleeves Than on Chest Placement
Here’s something most sizing charts leave out. Because a sleeve is curved and the hoop is round, a square or wide rectangular design doesn’t use the available space as efficiently as a round or vertically oriented one does. A circular badge or a tall, narrow wordmark fits a sleeve hoop’s usable area more naturally than a wide horizontal logo, which may need to shrink further than the raw width limit suggests just to avoid distorting around the sleeve’s curve. If your logo is wider than it is tall, expect it to need more size reduction on a sleeve than the same design would on a flat chest panel.
Stitch Count Considerations for Sleeve Designs
Most sleeve logos stay under roughly 12,500 stitches, partly because of the smaller placement area and partly because the curved, tighter-hooped surface adds more stress to the fabric during a long, dense run than a flat chest panel would. A heavily filled design that would run fine on a chest placement can pucker or shift more noticeably on a sleeve if the stitch count and density aren’t adjusted for the tighter hoop. For the broader relationship between design complexity and stitch count, the logo digitizing stitch count guide covers how fill coverage and font style push stitch totals up regardless of placement.
What Happens If a Design Is Sized for Chest Placement and Moved to a Sleeve
This is a common mistake. A logo digitized and approved at 4 inches for a chest placement doesn’t automatically transfer to a sleeve at the same size, since it likely exceeds even the roomier open-sleeve maximum of about 3.5 inches, and definitely exceeds a closed-cuff jacket’s 2.5 inch ceiling. Reusing a chest-sized file on a sleeve without resizing and rebuilding risks the design running off the usable hoop area entirely, or requiring the operator to distort the placement to make it fit, which usually looks off once finished.
Sizing Checklist Before You Order Sleeve Digitizing
- Confirm which garment type the design is headed for: open sleeve, closed cuff, or open cuff.
- Check the cuff style specifically for jackets and sweatshirts, since closed cuffs cut the width ceiling to around 2.5 inches.
- Favor a round or vertical logo orientation over a wide horizontal one for sleeve placement.
- Confirm placement height, typically 1 to 2 inches below the shoulder seam.
- Ask your digitizer to build the file specifically for sleeve placement rather than reusing a chest-sized file.
A Real Order, Broken Down
A landscaping company in Tennessee ordered matching left chest and sleeve logos for a batch of branded jackets, submitting the same 4-inch wide wordmark file for both placements to save on ordering time. The chest version ran fine. The sleeve version came back from the first sample stitch with the design partially cut off, since the jacket’s closed cuff couldn’t accommodate a design that wide on the sleeve hoop.
The digitizer rebuilt the sleeve version at 2.25 inches wide, rotating the wordmark slightly to better fit the sleeve’s curve and narrower hoop area. The resized version ran cleanly across the full jacket order. The company kept the original 4-inch file for chest placement and used the rebuilt version exclusively for sleeves going forward.
Who Builds These Files
USA Digitizing Pro has digitized sleeve placements from its Texas studio since 2015, building each file for the specific garment and cuff type rather than resizing a chest file. Standard turnaround runs 2 to 4 hours, with pricing starting at $15 for designs under 5 inches. Every file carries a money-back quality guarantee.
Frequently Asked Questions
Around 3.5 inches wide or tall for most open sleeve placements like t-shirts. Closed-cuff garments like jackets and sweatshirts max out closer to 2.5 inches due to how the sleeve hoop loads onto a garment that doesn’t open flat at the cuff.
A jacket’s closed cuff prevents the sleeve from opening flat, so the hoop has to work through a narrower tube of fabric rather than a flat panel. That physical constraint sets a tighter width ceiling than an open sleeve allows.
Not usually. Chest placements typically allow up to 4 to 4.5 inches, well beyond what most sleeve hoops can accommodate. A sleeve version generally needs to be digitized separately at a smaller size.
Most sleeve logos sit about 1 to 2 inches below the shoulder seam, which keeps the design visible from the front and side without crowding the underarm seam or wrapping too far around the arm’s curve.
Yes. Round or vertically oriented designs use a sleeve’s curved, narrower hoop space more efficiently than wide horizontal logos, which may need extra size reduction to avoid distorting around the sleeve’s curve.
Most sleeve logos stay under roughly 12,500 stitches, partly due to the smaller placement area and partly to avoid excess stress on the fabric during a long run on a tighter, curved hoop.
Yes, though letter height generally shouldn’t drop below about 3/16 of an inch for legibility, similar to text-size guidance on other placements. Curved sleeve text also needs to account for the sleeve’s taper.
Most closed-cuff garments land around the same 2.5 inch ceiling, but exact hoop access can vary slightly by garment cut and manufacturer. Checking with your digitizer for the specific garment style is worth doing before finalizing size.
This usually means the file was sized for a different placement, most often a chest logo reused without resizing for the sleeve’s tighter hoop area. Rebuilding the file specifically for the sleeve placement and cuff type resolves it.
Not inherently. Pricing is generally based on design size and complexity rather than placement location, so a small sleeve logo typically costs the same as a similarly sized chest logo at most studios.
Sizing Sleeve Embroidery Correctly the First Time
Sleeve embroidery size limits by garment come down to the hoop, not just the fabric. Open sleeves allow up to about 3.5 inches. Closed cuffs on jackets and sweatshirts cut that to around 2.5 inches. Knowing which category your garment falls into before you submit artwork prevents a resized-on-arrival surprise. USA Digitizing Pro builds every sleeve file for the specific garment and cuff type, starting at $15 for designs under 5 inches, with a 2 to 4 hour turnaround.
Follow Us

RELATED BLOGS
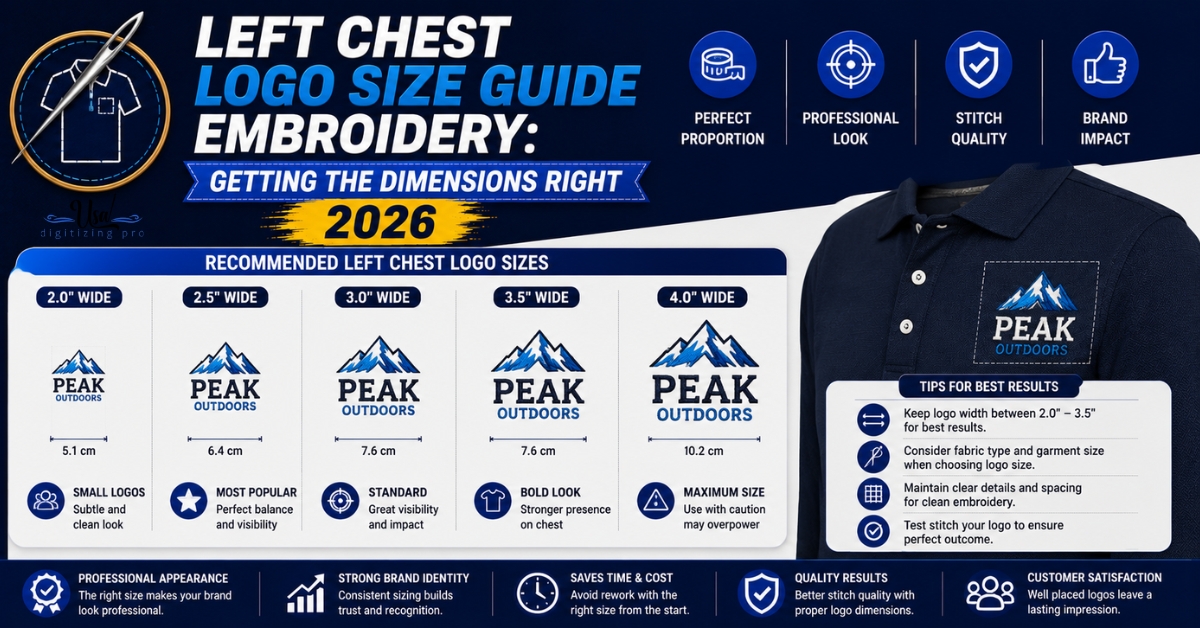
Left Chest Logo Size Guide Embroidery: Getting the.
Order a left chest logo at the wrong size and you don't just get a placement that looks off. You get a.
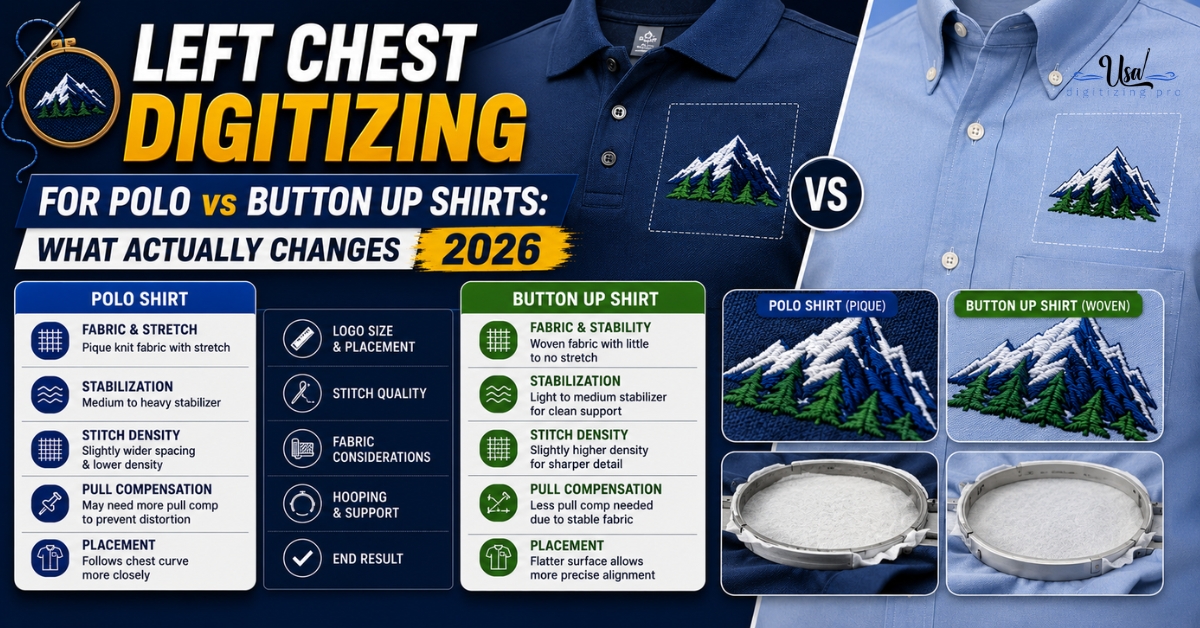
Left Chest Digitizing for Polo vs Button Up.
Order the same left chest logo for a batch of polos and a batch of button-up dress shirts, and you might expect.