

How to Digitize Embroidery Designs: 8 Steps From Artwork to Stitch File
By USA Digitizing Pro Team | Published November 2026 | Updated November 2026
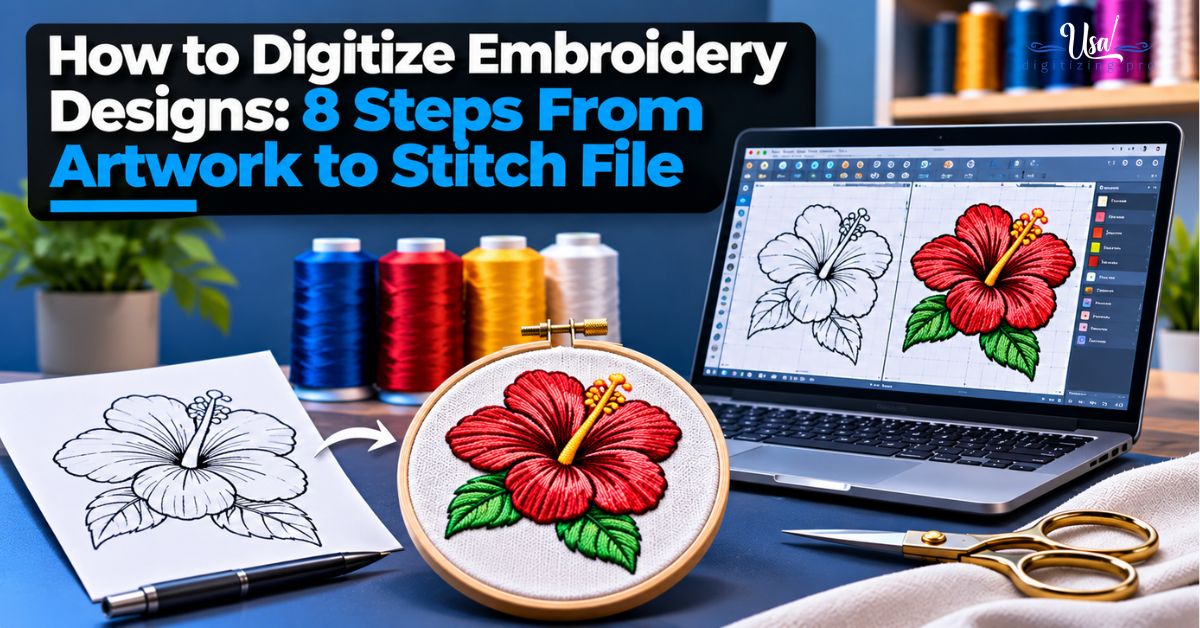
The machine is threaded. The design is sitting on your screen as a PNG. And nothing happens, because a PNG isn’t a stitch file. Learning how to digitize embroidery designs takes practice. The good news? The steps are the same every single time. This walkthrough covers each one, from cleaning up artwork to exporting a DST or PES, plus the settings that decide whether a design sews clean or puckers. Prefer to hand it off? Our embroidery digitizing services build files by hand from $15.
Quick Answer
To digitize an embroidery design, you prepare clean artwork, import it into digitizing software, rebuild each shape with the right stitch type, add underlay, set density and pull compensation for the fabric, plan the stitch order, test sew it and export it in your machine’s format.
| Step | What you do | Why it matters |
|---|---|---|
| 1. Prep artwork | Simplify and size it | Fine detail may not stitch |
| 2. Pick software | Choose a program you can learn | Auto tools need cleanup |
| 3. Choose stitch types | Run, satin or fill per shape | Decides how each part looks |
| 4. Add underlay | Base layer under top stitches | Stops sinking and gaps |
| 5. Set density and compensation | Match the fabric | Prevents puckering |
| 6. Plan the order | Sequence objects | Fewer trims and jumps |
| 7. Test sew | Stitch on the real fabric | Shows problems early |
| 8. Export | Save as DST, PES and so on | Machine reads its own format |
Short on time? Send your artwork to art@usadigitizingpro.com. Designs under 5 inches start at $15 and arrive in 2 to 4 hours. See our logo digitizing service.
What Do You Need Before You Start?
Three things. Digitizing software, clean artwork and a scrap of the same fabric the real job uses. Stabilizer and a few blank garments help too.
New to the whole idea? Read what is embroidery digitizing first. Once you know what a stitch file actually holds, the steps below click into place much faster.
Step 1: How Should You Prepare the Artwork?
Decide the final size before you touch anything else. Size controls what detail survives. Then start cutting. Thread can’t show tiny details. They go. Text below about 4mm tall tends to close up. Thin lines sitting close together merge into one. Every color you keep is a thread change, which means trimming the palette pays off on the machine. Working from a blurry JPG? A cleaner rebuild through vector art services hands you sharp edges to trace.
Step 2: Which Software Should You Use?
Pick something that lets you edit every object by hand. Home users often start with the program from their machine brand. Studios lean toward Wilcom, Pulse or Hatch.
Every program has an auto-digitize button somewhere. Treat whatever it spits out as a rough draft. It reads colors. It doesn’t read fabric. So it can’t set underlay or compensation for a cap or a knit. Our roundup of the 7 best embroidery digitizing software compares who each program suits.
Step 3: How Do You Choose the Right Stitch Type?
Look at the width of each shape. Narrow means satin. Wide means fill. Thin lines get a run stitch.
Satin is shiny and smooth, which is why letters and borders almost always use it. Push a satin column too wide, though. It gets loose and snags. That’s the point where you switch to fill. Fill lays rows of stitches across large areas. Its angle and pattern can be changed to add texture. Run stitches are the single lines you use for outlines, fine detail and travel paths between objects.
The reasoning behind each pick is laid out in how to choose embroidery stitches. Sharp corners on satin columns are their own headache, covered in how to cap corners in embroidery digitizing.
Step 4: What Underlay Should You Add?
Add it to everything except the smallest runs. Underlay is sewn first. It pins the fabric down so the top stitches sit on top instead of sinking in.
A thin satin column usually gets a center run. An edge walk traces just inside the outline. Bigger areas take a zigzag or lattice. Fluffy fabrics like fleece need more underlay than a smooth woven shirt (much more, in our experience). Skip this step and you’ll see gaps and rough edges on the first sew-out.
Step 5: How Do You Set Density and Pull Compensation?
Cover the fabric without turning it into cardboard. Then widen shapes slightly so they keep their size after sewing.
Density is how close the stitch rows sit. Pack them too tight and the fabric puckers or the thread breaks. Leave them loose and fabric shows through. Stretchy knits need more compensation than stable twill does. Software defaults are only a starting point. They should be changed for the fabric in front of you. Most puckering traces back right here, which is why our post on how to stop embroidery from bunching spends so long on it.
Step 6: How Do You Plan the Stitch Order?
Finish one area before moving to the next. Fewer trims. Fewer jumps. Faster run time. Background shapes go first and details go on top. Group objects of one color together whenever the layering allows. Caps follow a special rule: work from the center seam outward so the fabric doesn’t drift to one side. That rule is explained on our cap digitizing page.
Step 7: Why Should You Test Sew Before Production?
The screen lies. Fabric doesn’t. Always run a test on the same fabric and stabilizer the order will use. Check for puckers, gaps, loose satin, outlines that don’t line up and thread breaks. Change one setting at a time. Sew again. It’s slow, sure. It also saves a box of ruined shirts.
Step 8: Which Format Should You Export?
Whatever your machine reads. And keep the editable working file. DST runs on most commercial multi-head machines. PES is Brother, JEF is Janome, VP3 is Husqvarna Viking and EXP is Melco. Save the native working file as well (EMB in Wilcom, for example), because machine formats drop object data and are a pain to edit later. Every format is listed by brand in our embroidery file format post.
Which Settings Change by Fabric?
The design stays put. The settings move. Use this table as a starting point, then adjust after your test sew.
| Fabric | Underlay | Density | Pull compensation | Stabilizer |
|---|---|---|---|---|
| Woven shirt or twill | Light to medium | Standard | Low | Tear-away or cut-away |
| Knit polo or performance wear | Medium | Slightly lighter | Higher | Cut-away |
| Fleece or hoodie | Heavier, plus a topping | Standard | Medium | Cut-away plus water-soluble topping |
| Structured cap | Medium, center-out | Slightly lighter | Medium | Cap backing |
| Patch twill or felt | Medium | Standard to tight at border | Low | Matches patch method |
How Long Does It Take to Learn?
A few weeks of steady practice gets you through simple shapes and text. Clean small lettering, caps, puff and patches? Months. That gap explains why so many shops keep simple jobs in-house and send the hard ones out. One habit speeds things up a lot. Digitize a design, sew it, then compare it against a professional file of the same logo. The differences jump out fast.
When Is It Better to Outsource?
When the job is complex, the deadline is tight or the run is big. A single bad setting on a 100-piece order costs more than the digitizing fee ever would. The jobs that usually go out: small text under 5mm, cap fronts, 3D puff digitizing, patch digitizing services, photo-style designs and anything over 10,000 stitches.
Here’s a common story. A shop owner spends three hours digitizing a 6-color cap logo. Then two more hours go into fixing drift on the test cap. Built by hand at USA Digitizing Pro, the same file would have arrived within the 2 to 4 hour window, with free edits if anything needed changing.
About the Author
USA Digitizing Pro Team. Our digitizers have been building stitch files by hand for US shops, decorators and brands since 2015. Caps, patches, puff, applique and left chest logos make up most of the daily work. Nothing ships without a check.
FAQs About How to digitize embroidery designs
Not really, since phone apps can view and resize designs but real stitch editing needs a computer program.
Only for simple shapes on stable fabric, because text, caps, knits and customer orders almost always need manual fixes.
It ranges from free home programs up to professional suites costing several thousand dollars, often sold in levels.
Small text and getting density right for each fabric, with cap fronts a close third.
You need each machine’s format, which you can export from one editable master file.
It depends on size and fill area; our logo digitizing stitch count estimator gives rough ranges by design type.
Ready to Digitize or Want It Done for You?
Now you know how to digitize embroidery designs from prep all the way to export. Start simple. Test sew every time. When a job is too complex or too rushed, USA Digitizing Pro can build the file by hand.
Follow Us

RELATED BLOGS

Types of Color Separations for Screen Printing: Complete.
Published August 17, 2026 | By USA Digitizing Pro Team Six distinct separation methods cover essentially every screen printing job and most.
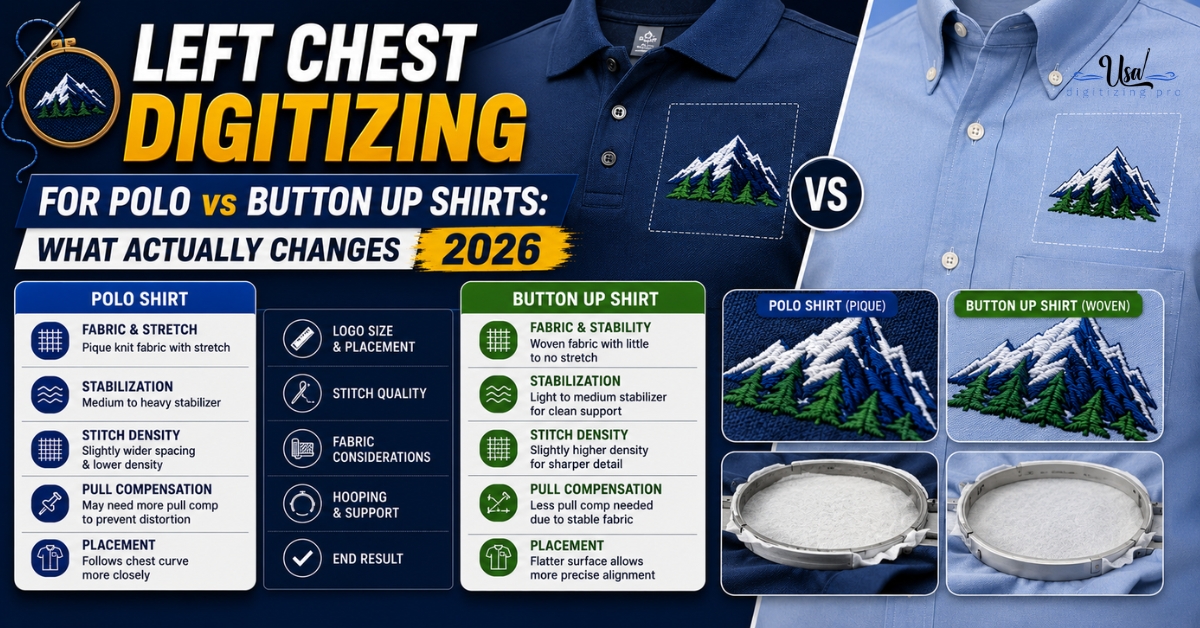
Left Chest Digitizing for Polo vs Button Up.
Order the same left chest logo for a batch of polos and a batch of button-up dress shirts, and you might expect.