Login / Register
About Us
Services
3D Puff Digitizing Services
Applique Digitizing Services
Cap Digitizing Services
Left Chest Digitizing Services
Patch Digitizing Services
Sleeve Embroidery Digitizing Services
Silhouette Art Services
Vector Artwork Services
Color Separation Services
Logo Embroidery Digitizing
Portfolio
Contact Us
Blog
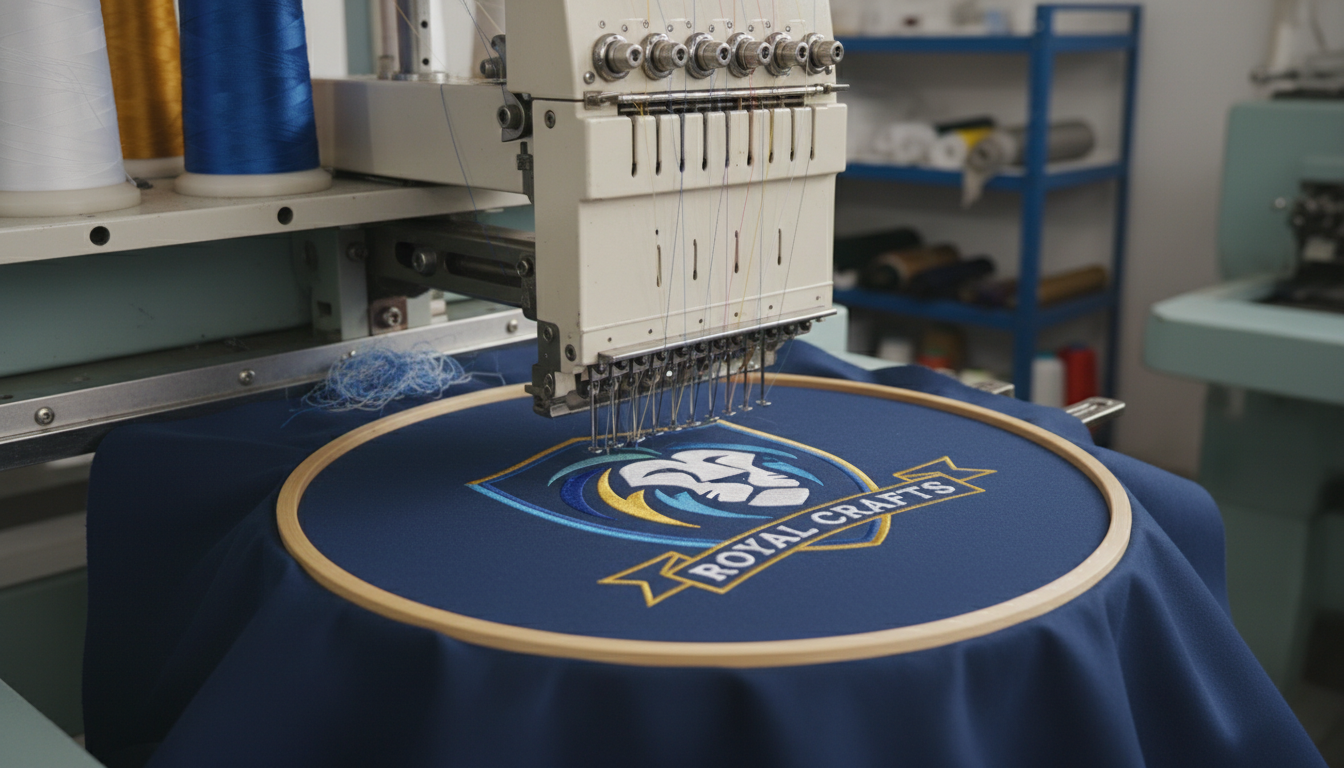
How to Select the Right Types of Stitches in Embroidery
Home
Blog
How to Select the Right Types of Stitches in Embroidery
January 13, 2026
By
SEO
465
Blog
SEO
RELATED BLOGS
Threads of Precision: The Art Hidden Behind Embroidery.
Jun 16, 2025
By
SEO
Comments
0
3D Puff Embroidery Digitizing Tips That Actually Work
Jan 1, 2026
By
SEO
Comments
0
LEAVE A REPLY
Cancel reply
Submit Now
Δ