

How Digitizing Affects Embroidery Production Cost 2026

Published August 17, 2026 | By USA Digitizing Pro Team
Most discussion of digitizing quality stops at how the finished logo looks. That misses where the money actually goes. How digitizing affects embroidery shows up on the production floor as machine runtime, thread consumption, operator interventions and ruined garments and those four things decide cost per piece far more than the one time digitizing fee does. A file that saves twenty dollars up front can cost hundreds across a thousand piece run.
The Cost Chain at a Glance
| Digitizing Decision | Production Consequence | Cost Impact |
|---|---|---|
| Stitch count | Machine runtime per piece | Direct, scales with every unit produced |
| Density setting | Thread break frequency | Operator time plus machine downtime |
| Underlay choice | Puckering and reject rate | Wasted garments and rework |
| Stitch path efficiency | Trim count and jump stitches | Runtime plus finishing labor |
| Color sequencing | Thread change stops | Setup time per garment |
| Pull compensation | Registration accuracy | Reject rate on curved or stretchy surfaces |
Stitch Count Is Runtime and Runtime Is Money
Every stitch takes machine time. A commercial machine running around 800 stitches per minute turns a 12,000 stitch logo into roughly fifteen minutes per garment on a single head. Push that same logo to 18,000 stitches through inefficient fills or unnecessary underlay layers and you’ve added half again to your runtime on every single piece. Across a 500 shirt order that difference is measured in machine days, not minutes. For estimating where your own design lands before ordering, the stitch count estimator walkthrough maps complexity to expected counts.
Where Excess Stitch Count Actually Comes From
Inflated stitch counts rarely come from the design being genuinely complex. They come from digitizing shortcuts: fill stitches used where a satin column would do, underlay layered more heavily than the fabric needs or auto generated paths that retrace areas already covered. A skilled digitizer building the same logo by hand often lands twenty to thirty percent lower on count with no visible difference in the finished stitch out.
Density Decides How Often the Machine Stops
Density set too high forces the needle through thread already packed into the fabric, which raises thread break frequency and needle deflection. Every break means an operator walks over, rethreads, backs the machine up and restarts. On a multi head machine one break can idle every head on that run. Density that’s tuned to the specific fabric keeps the machine running unattended, which is the entire point of commercial production. the broader machine performance breakdown covers the mechanical side of these interactions in more depth.
Reject Rate: The Cost Nobody Budgets For
A puckered polo isn’t a rework, it’s a destroyed garment. Underlay that doesn’t match the fabric weight or pull compensation missing on a knit or curved surface, produces distortion that can’t be fixed after the fact. On a program using thirty dollar garments, a five percent reject rate on a 400 piece run is six hundred dollars of blanks in the bin and that’s before counting the replacement production time. the guide to preventing fabric bunching covers the specific settings that drive this failure mode.
Trims, Jumps and Finishing Labor
Stitch path efficiency determines how many jump stitches and trims a file generates. Each trim is a machine pause. Each jump left untrimmed is a thread a finisher has to clip by hand after the run. A poorly sequenced file can leave dozens of loose threads per garment, turning finishing from a quick inspection into a real labor line item. Path planning that groups elements sensibly cuts both the machine pauses and the hand work.
Color Sequencing and Thread Change Stops
A file that jumps back and forth between colors forces extra thread changes and on a machine with fewer needles than the design has colors, that means manual rethreading mid run. Sequencing colors so each is completed before moving on and ordering them to match a logical needle assignment, removes stops that add up across a production run. This is a pure digitizing decision with zero effect on how the finished piece looks.
Why the Cheapest Digitizing Quote Often Costs the Most
Auto digitized or rushed files are cheap because nobody spent time optimizing them. They carry inflated stitch counts, generic density and unplanned paths, all of which convert directly into runtime, breaks and rejects on the floor. The digitizing fee is a one time cost measured in tens of dollars. The production consequences are recurring, measured per garment and compound with volume. the common digitizing mistakes rundown lists what to look for when evaluating a file before committing it to a run.
Where Stitch Count Can Be Cut Without Losing Quality
Reducing count isn’t about simplifying the design visually. Satin columns replace fills on narrow elements. Underlay gets matched to fabric rather than applied at a blanket setting. Overlapping objects get trimmed so the machine doesn’t stitch the same area twice. On designs with large solid areas, applique construction can cut count dramatically by replacing stitched fill with fabric and the applique stitch count reduction breakdown shows how far that approach can go on large format work.
Side by Side: Optimized vs Unoptimized File on a 500 Piece Run
| Factor | Optimized File | Unoptimized File |
| Stitch count | Lower, paths planned and underlay matched | Inflated by redundant fills and blanket underlay |
| Runtime per piece | Shorter, scales favorably across the run | Longer on every single unit |
| Thread breaks | Infrequent, machine runs unattended | Frequent, operator intervention required |
| Reject rate | Low, distortion controlled by correct underlay | Higher, puckering destroys garments |
| Finishing labor | Minimal trimming needed | Manual thread clipping per garment |
What to Ask For When Ordering a File for Production
- State the exact fabric and garment, since density and underlay depend on it.
- Ask for the stitch count before approving and question it if it seems high for the design size.
- Specify the number of needles your machine runs so color sequencing can be planned around it.
- Request a stitch out sample on the actual production garment, not a substitute fabric.
- Confirm the file is hand digitized rather than auto generated from the artwork.
- Ask whether any large fill areas could be handled as applique to cut count.
A Real Order, Broken Down
A Texas uniform supplier ran a 600 piece polo program with a logo file inherited from the client’s previous vendor. The file carried just over 16,000 stitches and produced frequent thread breaks on the knit fabric, along with visible puckering on roughly one in twenty pieces. Rebuilding the file dropped it to about 11,500 stitches by replacing fills with satin columns on the lettering and matching underlay to the polo knit rather than using a heavy blanket setting. Breaks dropped to occasional, puckering stopped and runtime per piece fell by roughly a quarter. The rebuild cost was recovered inside the first hundred garments. For the full sequence a file goes through when built properly, the step by step digitizing process walks through each stage.
Who Builds These Files
USA Digitizing Pro has built production optimized stitch files from its Texas studio since 2015, hand digitizing every file with density, underlay and path planning matched to the specific garment. Pricing starts at $15 for designs under 5 inches, with a 2 to 4 hour turnaround and a money back quality guarantee. Service details are on the logo embroidery digitizing page and files are delivered in whichever machine format your equipment reads, covered in the embroidery file format guide.
FAQs
Through four channels: stitch count drives machine runtime per piece, density drives thread break frequency and operator interventions, underlay drives reject rate and path planning drives trims and finishing labor. All four recur on every garment, unlike the one time digitizing fee.
No. Excess stitch count often comes from digitizing inefficiency, like fills used where satin columns would work or redundant underlay layers, rather than from genuine design detail.
It varies by design, though a hand rebuilt file replacing inefficient fills and blanket underlay commonly lands meaningfully lower than an auto generated version with no visible difference in the result.
Density set too high for the fabric is the most common cause, since it forces the needle through thread already packed into the material. Rebuilding the density for that specific fabric usually resolves it.
Generally no. Puckering from incorrect underlay or missing pull compensation distorts the fabric permanently, which is why it counts as a destroyed garment rather than a rework.
Yes. Poor sequencing forces extra thread changes and, on machines with fewer needles than the design has colors, manual rethreading mid run. Good sequencing removes those stops entirely.
It carries real risk for volume work, since auto generated files typically have inflated counts, generic density and unplanned paths, all of which multiply across every garment in the run.
Often yes. Replacing large stitched fill areas with fabric cuts stitch count substantially, which directly cuts runtime on every piece in the run.
Pricing starts at $15 for designs under 5 inches, with larger or more complex designs quoted individually and a standard 2 to 4 hour turnaround.
Judging a File by What It Costs to Run
How digitizing affects embroidery becomes clear the moment a file hits a production run rather than a single sample. Stitch count becomes runtime. Density becomes downtime. Underlay becomes reject rate. Path planning becomes finishing labor. Evaluating a file on those four measures, rather than on the quote alone, is what separates a program that runs profitably from one that quietly bleeds margin on every garment. For a closer look at how build quality shows up in the finished stitch, the stitch quality explainer covers the visual side.
Follow Us

RELATED BLOGS
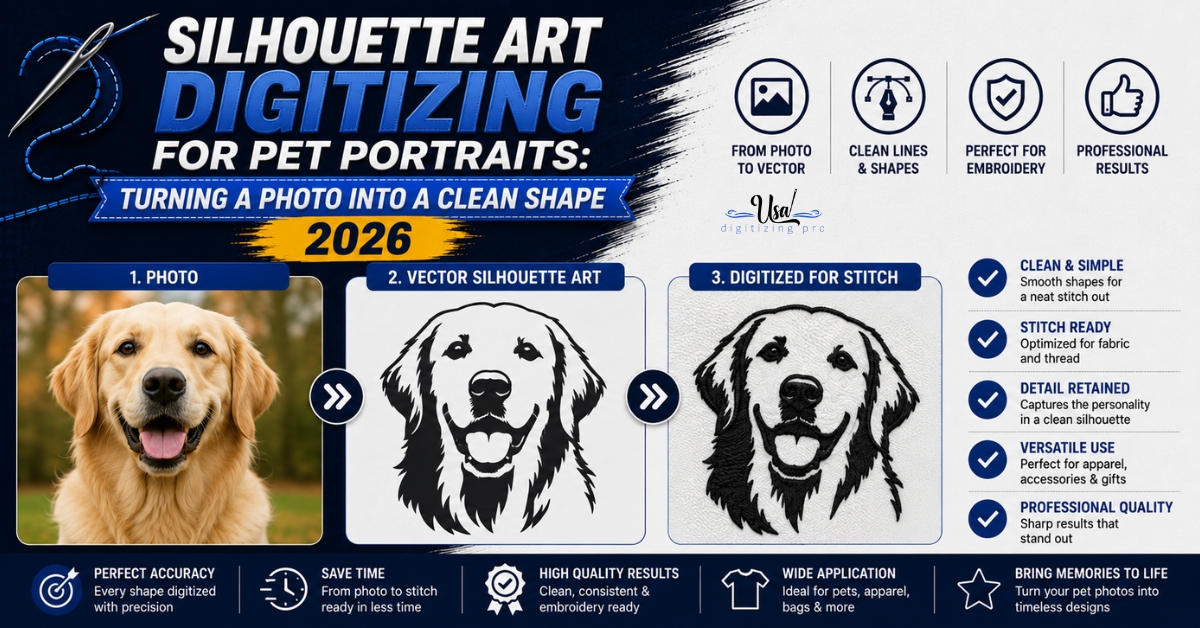
Silhouette Art Digitizing for Pet Portraits: Turning a.
A pet photo has fur texture, shadow, and a busy background. A silhouette has none of that on purpose. Silhouette art digitizing.
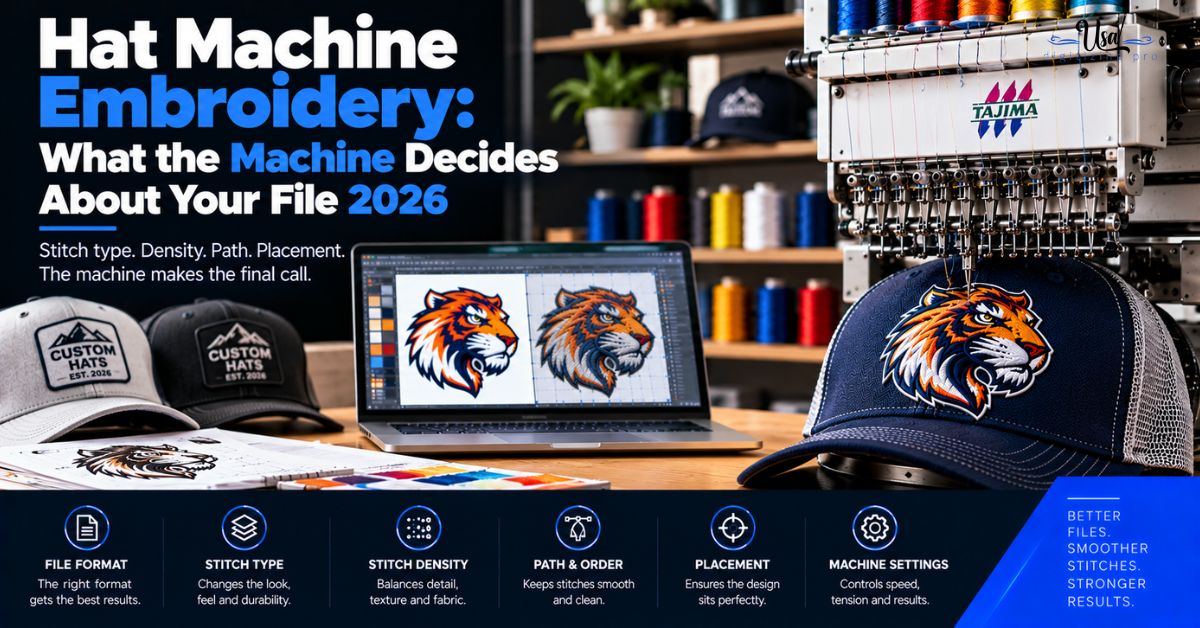
Hat Machine Embroidery: What the Machine Decides About.
Published October 2, 2026 | By USA Digitizing Pro Team Hat machine embroidery looks like a software problem and it is mostly.
4 COMMENTS
[…] reads correctly. Judging a file on the first three is more useful than judging it on the last. the production cost breakdown covers what those differences cost across a […]
[…] because stitch count and density are file decisions that change what the garment needs underneath. how stitch count and density affect production covers the file side of that […]
[…] with satin where satin does the job in fewer stitches. Restraint is a skill rather than a shortcut. what inflates a stitch count unnecessarily covers where the excess usually […]
[…] at no extra cost. For more on how the digitizing and conversion process works across formats, how digitizing affects embroidery machine performance covers the production-level […]