

Inside Digitizing Services: Embroidery Work Explained 2026
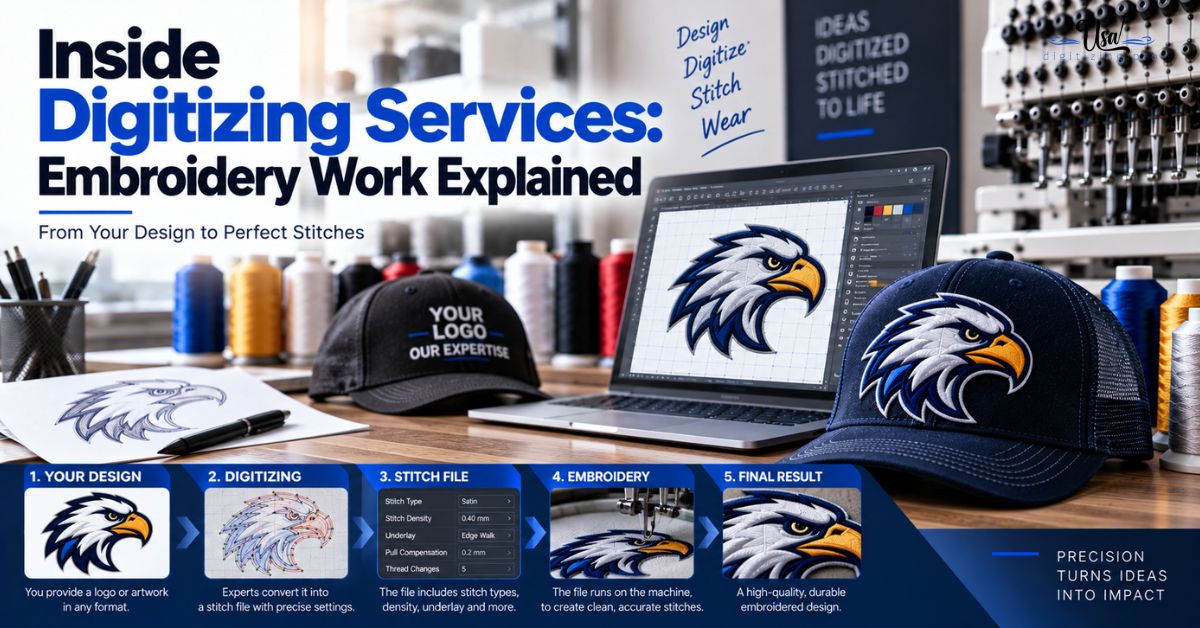
Published September 21, 2026 | By USA Digitizing Pro Team
Send the same logo to three digitizing studios and you will get three different files back. Not slightly different, measurably different: different stitch counts, different run times, different behavior on the same fabric. That surprises people who assume digitizing is a conversion, like exporting a PDF. It is not. Inside digitizing services, embroidery files are assembled from a long series of judgment calls, and understanding which ones explains both the price and the variation.
Quick Answer at a Glance
| Question | Answer |
|---|---|
| Is digitizing automatic? | No, a person decides stitch type, direction, density, and order |
| What is mapping? | Planning stitch order, direction, and flow before any stitches are placed |
| Why do files differ between digitizers? | The judgment calls differ, not the software |
| Does better software make a better file? | It gives more control, it does not make the decisions |
| What is decided per element? | Stitch type, direction, density, and underlay, individually |
| Is the file tested before delivery? | A sew-out on fabric is what proves it, not a screen preview |
| What does digitizing cost? | Starting at $15 for designs under 5 inches |
Inside Digitizing Services, Embroidery Starts Before Any Stitch
The first part of the job involves no stitching at all. Two things happen before the digitizer places a single object, and skipping either one is the most common reason a file needs rebuilding later.
The Artwork Audit
The artwork gets assessed against what thread can hold at the intended size. Gradients, hairline strokes, small text, and photographic detail all get flagged here, along with anything that will need simplifying. Vector artwork makes this straightforward because the boundaries are defined. A low resolution raster forces the digitizer to interpret edges the file never stated clearly. converting artwork to clean vector paths is what removes that interpretation step.
Mapping the Design
Mapping is the planning stage, and it is the part buyers never see. The digitizer decides the order elements will stitch in, which direction each one runs, and how the needle travels between them. This determines how efficiently the design runs, how many trims it produces, and whether the design holds its shape as the fabric moves. A design that was never mapped stitches in whatever order the software generated, which is rarely the order that works best on fabric.
The Decisions Made Object by Object
Once mapping is done, the design gets built element by element. Each element carries its own set of choices, and this is where a file’s quality is actually determined.
Stitch Type Per Element
Every shape gets assigned a stitch type based on its width and purpose. Narrow columns and lettering go to satin, broad areas to fill, thin lines and travel paths to run. Getting this wrong on a single element is visible on the finished garment, which is why it is decided individually rather than applied globally. the stitch types overview covers the full set available.
Stitch Direction
Direction changes how light catches the thread, so two identical shapes stitched at different angles look different on the finished piece. Direction also affects how the fabric pulls, so it gets chosen both for appearance and for stability. On a design with organic shapes, direction is what makes a leaf look like a leaf rather than a flat green blob.
Density and Underlay Per Element
Density and underlay both get set against the fabric and the element type rather than applied at one value across the design. A narrow satin column and a broad fill need different support beneath them, and a knit polo needs different settings from a structured jacket. This is the layer that separates a file that runs cleanly from one that puckers. the underlay settings explainer covers how that support is matched.
Why Two Digitizers Produce Different Files
This is the part that explains everything else, and almost nobody addresses it. Identical artwork genuinely produces different files, and some of that variation matters while some does not.
Judgment, Not Settings
There is no correct answer to most digitizing decisions, only better and worse ones for a specific garment. How aggressively to simplify a detail. Whether to split a wide column or accept a longer stitch. Which element to sacrifice when the design will not fit the placement. Two experienced digitizers can make different calls on all of these and both produce files that work.
Where They Diverge
The largest divergences show up in stitch count, in how much the artwork was simplified, and in pathing efficiency. One digitizer might build a logo at eleven thousand stitches and another at sixteen thousand from the same source, with both looking acceptable, while one costs meaningfully more to run across a production order. Those differences are invisible in a screen preview and obvious on a machine.
Which Differences Actually Matter
Stitch count matters because it becomes runtime on every garment. Density matched to your actual fabric matters because the alternative is puckering. Pathing matters because it becomes hand trimming. Aesthetic differences in stitch direction or simplification approach usually do not matter much, provided the logo still reads correctly. Judging a file on the first three is more useful than judging it on the last. the production cost breakdown covers what those differences cost across a run.
What the Software Does and Does Not Decide
Digitizing software gets discussed as though choosing the right package produces better files. It matters less than people assume, and in a specific way.
The Tool Tiers
Professional packages give control down to individual needle penetrations, with tools for splitting, joining, and merging stitches. Small business tiers from the same vendors offer manual digitizing with a simpler interface. Production focused systems add order management alongside the digitizing tools. All of them can produce an excellent file or a terrible one. the digitizing software comparison covers what each tier offers.
What No Software Decides for You
No package decides how much to simplify your logo, which element to sacrifice for the placement, what density suits the specific polo you are printing, or which order the elements should stitch in. Automatic functions offer defaults for some of these, and defaults are exactly what produce generic files. The software is a set of tools. The decisions stay with the person using them.
What Gets Tested Before Delivery
A file is not finished when it looks right on screen. The final stage is proving it behaves correctly when a needle meets fabric.
The Sew-Out
A sew-out is the design stitched on actual fabric, ideally the same material the production run will use. It is the only test that reveals registration, thread coverage, small text legibility, and whether the fabric lies flat afterward. Every decision made during the build gets confirmed or contradicted here.
What Is Checked On It
Satin edges for gapping, fill areas for even coverage, small text for legibility, color boundaries for separation, and the fabric around the design for rippling. The reverse gets checked for jumps and trims. Each of those maps back to a specific decision made earlier, which is what makes a sew-out diagnostic rather than merely reassuring. how build quality shows in the finished stitch covers those markers in detail.
What This Means for Your Order
Understanding the judgment layer changes what you supply and what you ask for, both of which improve what comes back.
Order Checklist
- Supply vector artwork so the audit stage has defined boundaries to work from.
- State the exact finished size, since it determines what detail survives.
- Name the specific garment and fabric so density and underlay can be matched.
- Ask for the stitch count, since it is the clearest single quality signal.
- Request a sew-out on your production garment for anything going to volume.
- Say which elements matter most if the design will need simplifying.
A Real Order, Broken Down
A Texas uniform supplier ran the same crest through two digitizers to compare. Both files looked identical on screen. One came in around twelve thousand stitches, the other around eighteen thousand. The heavier file used fill on several narrow elements where satin belonged, carried blanket underlay across the whole design rather than matched per element, and pathed the design in the order the software generated. On a four hundred piece run it added meaningful machine time per garment and produced noticeably more loose threads to trim. Neither file was wrong in an obvious way. One was built with decisions and one was built with defaults. the settings behind common digitizing faults covers the specific defaults that inflate a file.
Who Builds These Files
USA Digitizing Pro hand digitizes every file from its Texas studio, mapping the design before building it and setting stitch type, direction, density, and underlay element by element against the specific garment. Pricing starts at $15 for designs under 5 inches, with a 2 to 4 hour turnaround and a money-back quality guarantee. Service details are on the logo embroidery digitizing page, and the stage by stage workflow is covered in the six stage digitizing process.
Frequently Asked Questions
No. A person decides stitch type, direction, density, underlay, and stitch order element by element. Automatic functions exist and produce generic results, which is why manual digitizing remains standard for commercial work.
The planning stage before any stitches are placed, where the digitizer decides stitch order, direction, and how the needle travels between elements. It determines how efficiently the design runs and whether it holds its shape.
Because most digitizing decisions have no single correct answer, only better and worse ones for a specific garment. Simplification approach, stitch count, and pathing all vary between experienced digitizers.
It gives more control, particularly down to individual stitch editing. It does not make the decisions. A skilled digitizer on a mid-tier package will outperform an unskilled one on a professional package.
Element width and purpose. Narrow columns and lettering take satin, broad areas take fill, and thin lines or travel paths take run stitch.
It changes how light catches the thread, so identical shapes at different angles look different. It also affects how the fabric pulls, so it is chosen for stability as well as appearance.
The design is stitched on actual fabric. It is the only test that reveals registration, thread coverage, small text legibility, and puckering, none of which a screen preview can show.
You Are Paying for Decisions
The fee on a digitizing order does not buy a file conversion. It buys an artwork audit, a mapping plan, a stitch type and direction and a density decision on every element in the design, and a sew-out that proves all of it. That is why two files from identical artwork differ, and why the cheaper one sometimes costs more across a production run. Ask what was decided, not just what it cost.
Follow Us

RELATED BLOGS
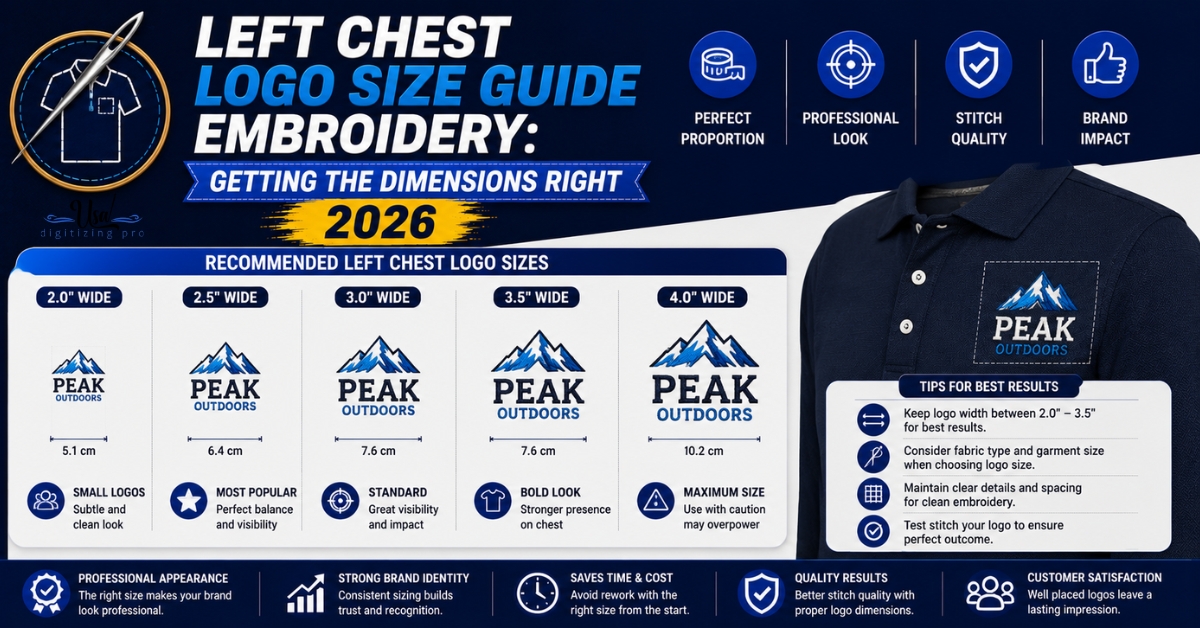
Left Chest Logo Size Guide Embroidery: Getting the.
Order a left chest logo at the wrong size and you don't just get a placement that looks off. You get a.
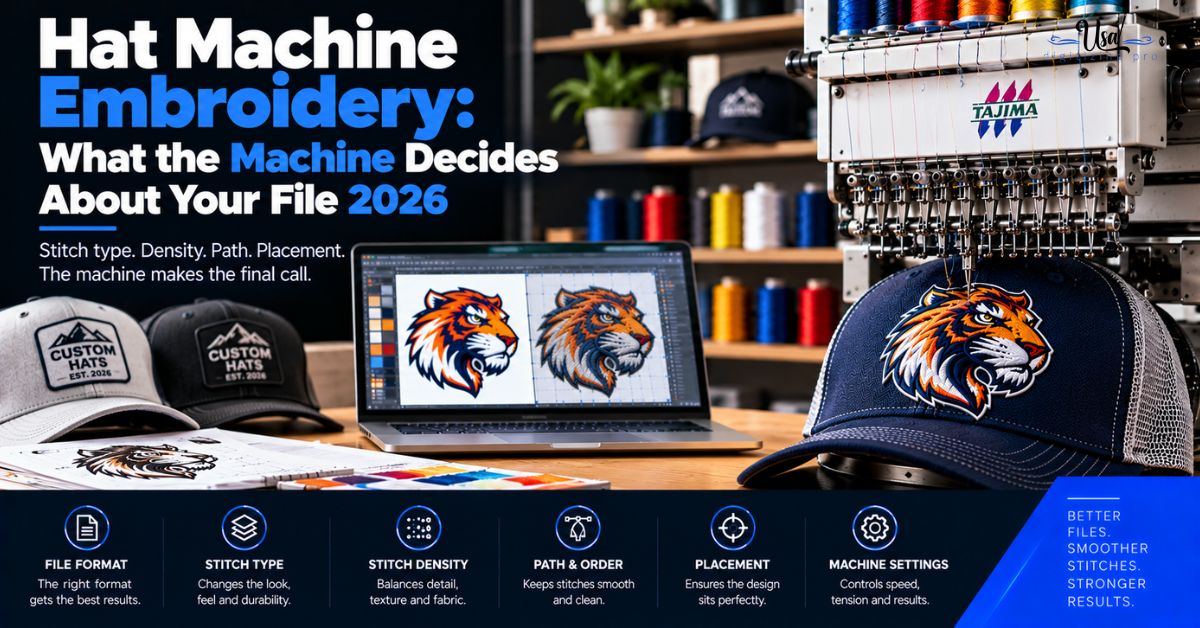
Hat Machine Embroidery: What the Machine Decides About.
Published October 2, 2026 | By USA Digitizing Pro Team Hat machine embroidery looks like a software problem and it is mostly.