

Exploring the World of Hat Digitizing: A Guide by Cap Type 2026
Published September 11, 2026 | By USA Digitizing Pro Team
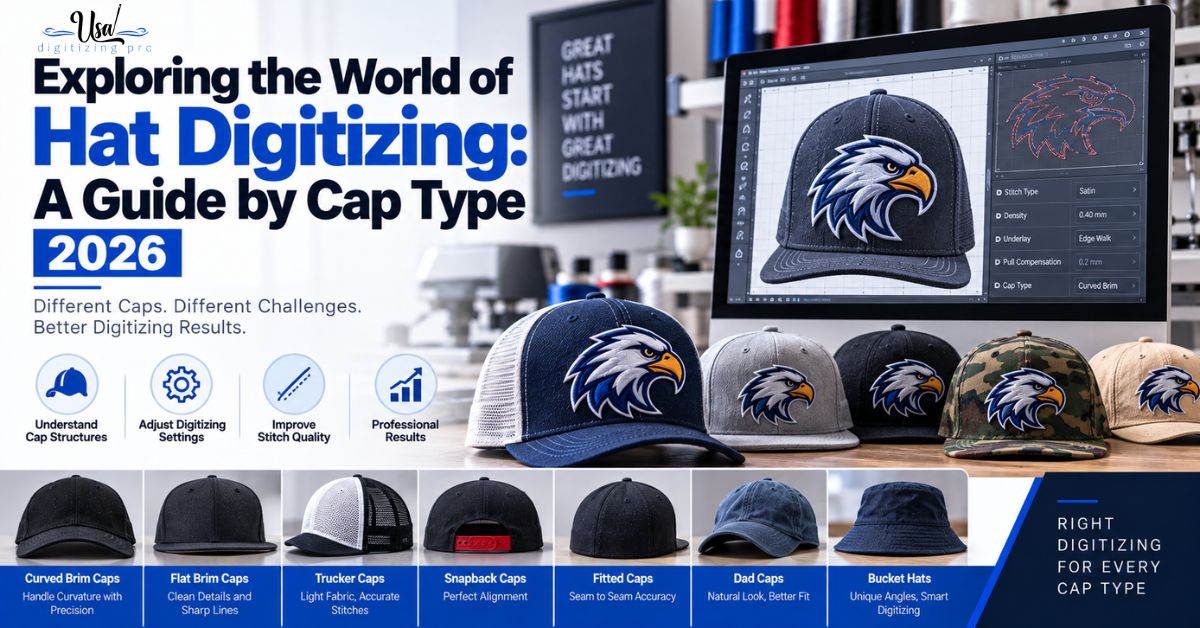
Hat digitizing gets treated as one skill, and it is closer to six overlapping ones. A six panel baseball cap, a trucker, a beanie, and a visor share almost nothing beyond being worn on a head. Panel count changes whether a seam runs through your design, construction changes how much density the panel tolerates, and the usable area varies enough that a logo fitting one type will not fit another. Here is what changes with each, and the figures that govern all of them.
Quick Answer at a Glance
| Question | Answer |
|---|---|
| Standard baseball cap front area? | Around 2.1 by 4.2 inches, roughly 5.3 by 10.7 cm |
| Typical usable design height? | Often only 2 to 2.5 inches |
| Which cap type has no centre seam? | Five panel caps, giving an uninterrupted front |
| Which type suits detailed logos best? | Five panel, for the same reason |
| What is hardest about beanies? | Knit stretch, needing lower density and cutaway backing |
| What limits visors? | A very short usable stitching height on a narrow front |
| Do different hat types need different files? | Yes, density, area, and seam handling all change |
The Constraints Every Hat Shares
Three facts apply regardless of which hat is on the frame, and they explain most of the difference between hat work and flat garment work.
The Usable Embroidery Area
The standard front embroidery area on a baseball cap runs around 2.1 inches by 4.2 inches, and usable design height is often only 2 to 2.5 inches once the crown curve and the bill clearance are accounted for. That is dramatically smaller than a left chest placement, and it is the reason designs that work on shirts frequently have to be redrawn rather than resized for caps.
The Centre Seam Problem
On any cap with a centre seam, that seam is a thick multi-layered ridge that physically deflects the needle as it tries to penetrate. The needle pushes off its intended path, which produces a visible split down the middle of anything crossing it. Letters break, thin lines misalign, and registration drifts at exactly that point. Planning the design around the seam is more reliable than trying to stitch through it cleanly. the cap embroidery troubleshooting guide covers the defects this produces.
Cap Frames, Not Flat Hoops
Caps need a cylindrical cap frame that the crown slides onto, not a flat hoop. This is the most common beginner mistake and it is not a small one, since a flat hoop cannot hold a curved crown taut and the panel moves during stitching. No file quality compensates for a cap that is not properly framed.
Hat Types and What Each Demands
With the shared constraints established, here is what changes between styles. The differences are large enough that a file built for one type rarely transfers to another without a rebuild.
| Hat Type | Key Constraint | File Adjustment |
|---|---|---|
| Six panel baseball | Centre seam through the design area | Plan around the seam, centre-out sequencing |
| Five panel | No centre seam, larger clear front | Best type for detail, standard cap settings |
| Trucker | Foam front panel, mesh back | Controlled density so foam is not perforated |
| Dad hat, unstructured | Soft panel with no buckram support | Lighter density, more stabilizer dependence |
| Beanie | Knit with significant stretch | Low density, light underlay, cutaway backing |
| Visor | Very short usable stitching height | Shallow designs only, horizontal layouts |
Six Panel Baseball Caps
The most common structured cap, and the one with the seam running straight through the middle of the front. Text and fine detail crossing that seam will break visibly. Designs either get split around it, positioned to avoid it, or simplified so that only elements robust enough to survive the crossing sit over it. the structured versus unstructured cap guide covers how buckram affects the panel behaviour.
Five Panel Caps
Five panel construction puts a single uninterrupted panel across the front, which removes the seam problem entirely. This makes them the best choice for detailed logos, small text, and anything where a break down the middle would be unacceptable. If a client’s logo is detail-heavy and the cap style is still open for discussion, recommending five panel solves the problem at source.
Trucker Caps
Truckers combine a structured foam front with a mesh back. The foam front stitches similarly to a standard structured panel with one important difference: foam compresses under the needle differently from woven fabric, so density has to stay controlled or the stitching perforates the foam rather than sitting on it. The mesh back is generally not embroidered for the same reason. the trucker hat digitizing guide covers this type in more depth.
Dad Hats and Unstructured Caps
Without buckram behind the panel, an unstructured cap has nothing holding its shape against stitch tension. Density has to come down and stabilizer does more of the work. Designs also sit differently because the panel moulds to the wearer’s head rather than standing upright, which affects how a logo reads once worn versus how it looks flat.
Beanies
Beanies are the outlier. Knit fabric with significant stretch means the same property that makes them comfortable works directly against embroidery stability. Beanie files need lower density, lighter underlay, and cutaway stabilizer to control movement during production. Designs also need to tolerate the fabric relaxing after the piece comes off the machine.
Visors
Visors have a very narrow front panel, and the safe stitching height is significantly shorter than a full cap front. This rules out stacked text and tall logos entirely. Visor designs work best as horizontal layouts, wordmarks or wide simple marks, and any design being adapted from a cap version usually needs redrawing rather than scaling.
Designing Within the Area
The area limit is the constraint that surprises buyers most, because it is far tighter than people assume from looking at a cap.
What Actually Fits
Within roughly 2.1 by 4.2 inches, with usable height often closer to 2 inches, a wordmark and a simple mark fit comfortably. A detailed crest with fine text beneath it usually does not, at least not legibly. Checking the design against the actual area before promising it to a client prevents an awkward conversation after the sample.
Simplifying Without Losing the Logo
Simplification for caps means dropping fine detail that will not resolve at this size while protecting what makes the logo recognisable. Thin outlines, small taglines, and intricate internal detail are the usual casualties. Curved text along the crown is a common way to use the width available rather than fighting the height limit. the curved text guide for caps covers how that lettering is built.
Sequencing for Caps
Stitch order matters more on caps than on flat garments, because the panel is curved, framed under tension, and often carrying a seam.
Centre-Out and Bottom-Up
Cap files generally stitch from the centre outward and from the bottom upward. Centre-out keeps the tension the design creates balanced around the middle of the panel rather than pushing accumulated distortion across to one side. Bottom-up works with the way the cap sits in the frame. Both are planning decisions made when the file is built, not machine settings.
Planning Around the Seam
Where a design must cross a centre seam, the elements crossing it should be the robust ones, solid shapes rather than fine lines or small letters. Where it can avoid the seam, it should. Underlay choices also change at the crossing, since the needle is entering a much thicker stack at that point. the underlay settings explainer covers matching support to the panel.
Artwork Requirements
What arrives at the digitizer sets the ceiling on the finished cap, and hat work is less forgiving of poor source artwork than larger placements are.
Vector First
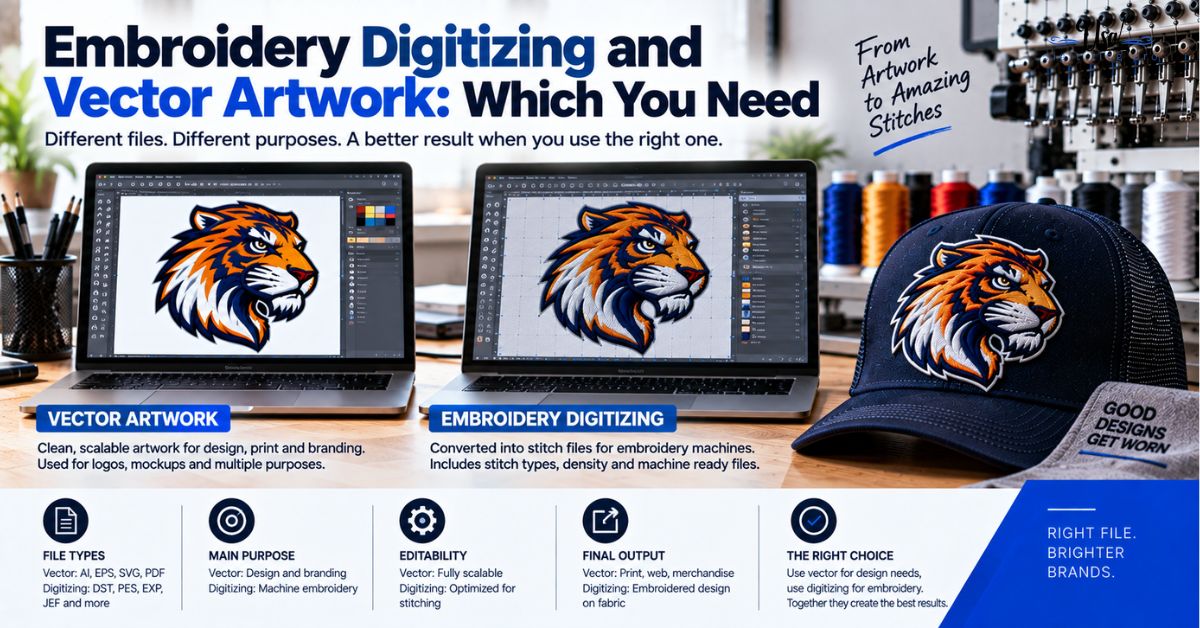
Vector formats give the digitizer definite boundaries to work from, which matters more at cap scale than anywhere else because there is no room for interpretation error. At two inches of usable height, a slightly misread edge is a visible fault rather than a rounding difference.
Raster Minimums for Hats
Where only a raster file exists, US industry guidance commonly cites a minimum around 1200 by 720 pixels for hat artwork, with 1200 by 1200 for general apparel. Below that, edges become interpretive. Higher is always better, and a vector rebuild is better still if the logo will be used across multiple hat styles.
Ordering Across Multiple Hat Types
Most hat programs involve more than one style, which is where the type differences turn into a practical ordering question.
Order Checklist
- List every hat style in the program by name, not just as caps.
- Note which styles carry a centre seam and which do not.
- Confirm the finished design width and height for each style separately.
- Ask for a separate file per style rather than one file resized.
- Supply vector artwork, or the highest resolution raster available.
- Request a sample on each distinct hat type before the full run.
A Real Order, Broken Down
A Texas brewery ordered their logo on six panel caps for staff, trucker caps for retail, and beanies for winter merchandise. One file was supplied for all three. On the six panels, the tagline text split down the centre seam. On the truckers, the density built for woven twill perforated the foam front. On the beanies, the same density puckered the knit badly enough that the pieces were unsellable. Three separate files solved it: the tagline repositioned clear of the seam on the six panels, density reduced for the foam front on the truckers, and a low density version with cutaway backing for the beanies. Same logo, three builds, because three entirely different materials were involved. the cap embroidery design tips guide covers preparing artwork before it reaches this stage.
Who Builds These Files
USA Digitizing Pro builds hat files by type from its Texas studio, adjusting density, underlay, sequencing, and seam handling for the specific cap construction rather than resizing one file across styles. Pricing starts at $15 for designs under 5 inches, with a 2 to 4 hour turnaround and a money-back quality guarantee. Service details are on the cap digitizing page, and raised logo work is covered on the 3D puff digitizing page.
Frequently Asked Questions
Around 2.1 inches by 4.2 inches, or roughly 5.3 by 10.7 cm. Usable design height is often closer to 2 to 2.5 inches once crown curve and bill clearance are accounted for.
The centre seam on a six panel cap is a thick multi-layered ridge that deflects the needle off its path. Anything fine crossing it, especially letters and thin lines, breaks visibly at that point.
Five panel, because it has a single uninterrupted front panel with no centre seam to break the design.
No. Beanie knit stretches significantly, so it needs lower density, lighter underlay, and cutaway stabilizer. Cap density on a beanie typically puckers the fabric badly.
The foam front panel compresses under the needle differently from woven fabric, so density has to stay controlled or the stitching perforates the foam instead of sitting on it.
The front panel is very narrow, so safe stitching height is much shorter than a full cap front. Stacked text and tall logos do not fit, and horizontal layouts work best.
Yes, a cylindrical cap frame that the crown slides onto. A flat hoop cannot hold a curved crown taut, and the panel will move during stitching.
Vector is ideal. Where only a raster file exists, US guidance commonly cites a minimum around 1200 by 720 pixels for hats, with higher always being better.
One Logo, Several Files
Hat digitizing is not one discipline applied to slightly different objects. A six panel puts a seam through your design, a five panel removes it, a trucker front is foam, a dad hat has no structure at all, a beanie stretches, and a visor barely gives you height to work with. The logo stays the same across all of them. The file cannot.
Follow Us

RELATED BLOGS
Embroidery Digitizing and Vector Artwork: Which You Need.
Published September 21, 2026 | By USA Digitizing Pro Team Embroidery digitizing and vector artwork get sold side by side, which leads.
Logo Digitizing Process: A 2026 Step By Step.
You sent a logo. The shop sent back a polo with thread breaks and fuzzy letters. Sound familiar? Most cap and apparel.