

3D Puff Embroidery Digitizing Tips: Foam and Width Settings (2026)
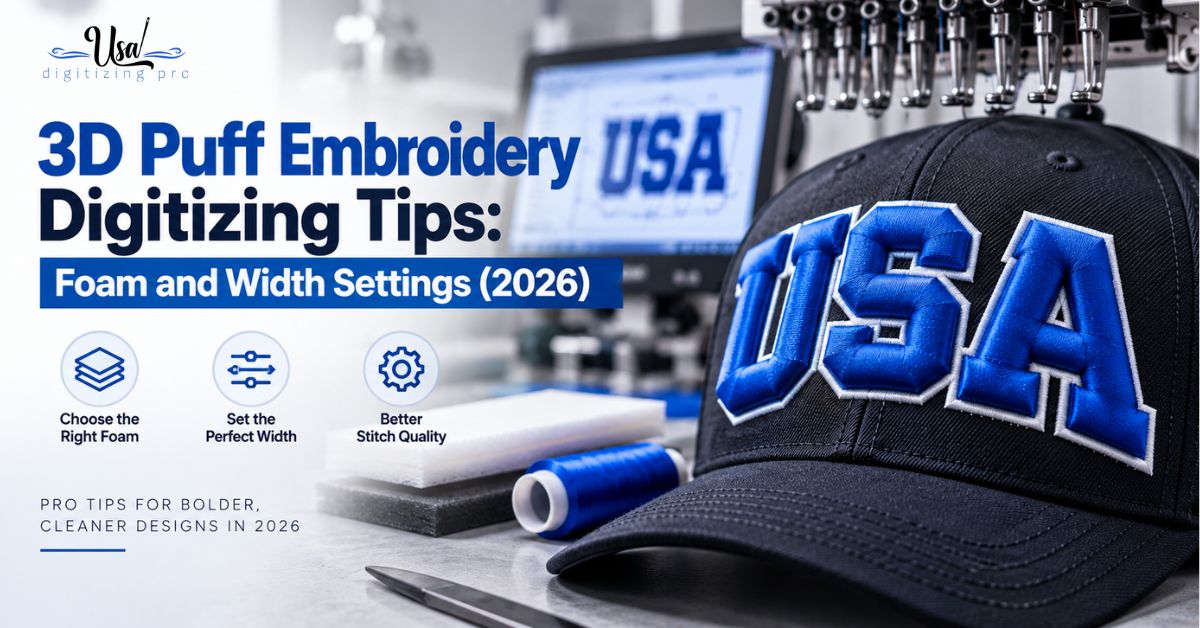
Published September 10, 2026 | By USA Digitizing Pro Team
Puff either cuts clean or it makes a mess, and the difference is almost always a mismatch between the foam you loaded and the column width you digitized. Most 3D puff advice lists foam thicknesses and lists minimum widths separately, which leaves the actual decision unmade. These settings work as pairs. Here are the pairings, the density and capping values that go with them, and the underlay rule that flattens more puff jobs than any other single mistake.
Quick Answer at a Glance
| Setting | Value | Why |
|---|---|---|
| Foam thickness options | 2mm, 3mm, 6mm EVA | 2mm subtle, 3mm standard caps, 6mm bold outerwear |
| Column width for 2mm foam | About 5 to 6mm | Enough width to perforate and cap thin foam |
| Column width for 3 to 4mm foam | About 7 to 10mm | Thicker foam needs a wider column to enclose |
| Absolute minimum column | 3mm | Below this the satin will not perforate cleanly |
| Capping stitch length | 2.0 to 2.5mm | Perforates the foam so excess tears away |
| Underlay | No zigzag underlay | It flattens the foam before capping happens |
| Stitch type | Satin only, no interior stitches | Fill would puncture the foam surface |
Match Foam Thickness to Column Width
This is the decision the other guides leave incomplete. Foam thickness and column width are not two independent choices, they are one choice made twice, and getting them out of sync is what produces ragged edges and foam poking through.
Why Perforation Depends on This Pairing
The satin column does two jobs at once. It covers the foam visually and it perforates it, so the excess outside the design tears away cleanly afterward. A column that is too narrow for the foam beneath it cannot punch through properly, and the tear leaves ragged foam still attached along the edges. A column much wider than the foam needs simply wastes stitches and flattens the effect you paid for.
The Pairing Table
| Foam Thickness | Recommended Column Width | Typical Use |
|---|---|---|
| 2mm | About 5 to 6mm | Subtle raise, smaller cap lettering |
| 3mm to 4mm | About 7 to 10mm | Standard commercial cap logos |
| 6mm, or two 3mm layers | Wide columns, bold letterforms only | Ultra-raised work on heavy outerwear |
The 3mm Column Floor
Three millimetres is the practical minimum column width for any puff work. Two millimetres can occasionally work on thin foam with simple shapes, though it risks compressing the foam so much that the raised effect disappears. Below 3mm the satin will not reliably perforate, and the result is messy edges wherever the foam refuses to separate. Anything in your design that falls under that width should be digitized flat rather than puffed. the stitch type width thresholds guide covers the equivalent limits for standard flat work.
The Settings That Encapsulate the Foam
Once the pairing is right, three settings determine whether the satin fully encloses the foam edge or leaves it visible. Puff runs tighter than standard flat embroidery on all three.
Satin Density
Puff satin needs to run denser than the same column would on a flat design, because the stitches have to close completely around a raised edge rather than lying against a flat surface. Any gap in coverage shows as foam peeking through the thread, which is the single most reported puff defect. Increase density from your normal flat setting rather than leaving it at a default, and confirm the coverage on a test rather than on screen.
Capping Stitch Length
Capping stitches, the ones running across the ends of a puffed column, generally sit between 2.0mm and 2.5mm in length. This range matters because those stitches have to perforate the foam enough for the excess to tear away without so much perforation that the cap itself weakens. Too long and the foam does not separate cleanly at the ends, too short and the column ends look pinched.
Satin Width Range
Puff satin generally works between about 5mm and 12mm, with the practical ceiling depending on the machine, commonly 10mm to 12mm. Note this is wider than the flat garment satin range, since narrow columns cannot support foam and the snagging concern is offset by the raised profile. Wide bold letterforms are what puff was made for, and thin scripts are what it fails at.
Underlay: The Rule Most Files Get Wrong
Underlay behaves differently in puff work than anywhere else in embroidery, and applying standard practice here is a common way to lose the entire raised effect.
Why Zigzag Underlay Ruins Puff
Zigzag underlay runs before the top stitches and presses down on whatever is beneath it. On a flat design that is exactly what you want. On puff, it compresses the foam before the capping satin has a chance to enclose it, so the finished logo sits flatter than intended and the foam edge can end up crushed rather than raised. Skip zigzag underlay in puff areas entirely. the underlay settings explainer covers how underlay choices work on standard cap elements.
What to Use Instead
Puff areas generally need minimal or no underlay, since the foam itself provides the body that underlay would normally supply. Where some support is needed, a light run along the column centre is the safe option because it does not press across the foam’s width. The flat elements in the same design keep their normal underlay treatment, which is why puff and flat sections often need different settings inside one file.
Stitch Sequence and Cleanup
Puff files run in a specific order with a machine stop in the middle, and both the order and the cleanup afterward affect the finished result more than most buyers expect.
Order of Operations
Flat elements stitch first, before any foam goes down. The machine then stops so the operator can lay the foam over the puff area. The dense satin sections run next, perforating the foam as they enclose it. Getting this order wrong, particularly running flat detail after the foam is already down, means stitching flat elements into or around raised foam, which distorts both.
Tear-Away and Final Cleanup
Once the satin has run, the excess foam outside the design tears away along the perforations. Small fragments usually remain at tight curves and column ends, and these get removed with tweezers or with carefully controlled heat. Foam that will not tear cleanly is almost always a symptom of the pairing or capping length being wrong rather than a cleanup problem. the cap puff troubleshooting guide covers the specific defects that show up on cap panels.
Design Rules for Puff Work
Not every element in a logo should be puffed, and treating puff as a whole-design effect rather than a selective one is a frequent source of disappointing results.
What Puffs Well
Bold block lettering, thick uniform strokes, simple geometric shapes, and clean outlines all suit puff. The common factor is width that stays comfortably above the 3mm floor along the whole element, with no sudden narrowing. Sports lettering and heavy brand marks are the classic puff applications for exactly this reason.
What to Keep Flat
Thin scripts, fine detail, small text, gradients, and any element that narrows below 3mm should stay flat. Sharp interior corners are also worth avoiding or softening, since foam does not tear cleanly out of tight angles. Mixing puffed and flat elements within one logo is standard practice and usually produces a better result than puffing everything. the corner capping methods guide covers how those corners should be handled where they do appear.
Testing Before Production
Puff has more variables than flat embroidery and each one shows up physically rather than on screen. A test run is not optional on a first production of any puff design.
Pre-Production Checklist
- Confirm every puffed element measures at least 3mm wide at its narrowest point.
- Match the column width to your actual foam thickness using the pairing above.
- Check that no zigzag underlay exists anywhere in the puff areas.
- Verify capping stitch length sits between 2.0mm and 2.5mm.
- Confirm flat elements are sequenced before the foam placement stop.
- Run a test on the actual cap or garment, then tear away and inspect the edges under good light.
A Real Order, Broken Down
A Texas headwear brand ran a puffed wordmark on structured caps using 3mm foam, with column widths around 5mm because that width had worked on a previous job. The previous job had used 2mm foam. With the thicker foam, those 5mm columns could not perforate reliably, so the tear-away left ragged foam along most letter edges and the operator spent minutes per cap picking at it with tweezers. Widening the columns to about 8mm to suit 3mm foam fixed the tear-away completely on the next run. The file also carried a zigzag underlay left over from a flat version of the same logo, which was flattening the raise, so removing it recovered the height the brand had ordered in the first place. the caps versus jackets puff comparison covers how these settings shift between curved and flat surfaces.
Who Builds These Files
USA Digitizing Pro builds 3D puff files from its Texas studio, matching column width to the foam thickness in use, setting density for full encapsulation, and sequencing flat elements ahead of the foam stop. Pricing starts at $15 for designs under 5 inches, with a 2 to 4 hour turnaround and a money-back quality guarantee. Service details are on the 3D puff digitizing page, and cap-specific work is covered on the cap digitizing page.
Frequently Asked Questions
Commonly 2mm, 3mm, or 6mm EVA foam. 2mm gives a subtle raise, 3mm is the standard for commercial cap logos, and 6mm or two stacked 3mm layers produce ultra-raised work on heavy outerwear.
About 3mm. Two millimetres can work in limited cases on thin foam, though it risks compressing the foam enough to lose the raised effect. Below 3mm the satin will not perforate the foam cleanly.
Roughly 7 to 10mm. Thinner 2mm foam pairs better with columns around 5 to 6mm, since the width has to suit the foam thickness it is enclosing.
Density is too low to fully encapsulate the foam edge. Puff satin needs to run tighter than the equivalent flat column, because the stitches have to close around a raised edge rather than lie flat.
No. Zigzag underlay presses the foam down before the capping satin encloses it, which flattens the raise. Puff areas generally need minimal or no underlay, with a light centre run where some support is needed.
Between 2.0mm and 2.5mm. That range perforates the foam enough for the excess to tear away cleanly without weakening the capped ends.
Usually the column width does not suit the foam thickness, so the satin never perforated properly. Capping stitch length outside the 2.0 to 2.5mm range is the second most common cause.
Tweezers for fragments at tight curves and column ends, or carefully controlled heat. Persistent leftover foam points to a settings problem rather than a cleanup technique problem.
Generally no. Anything narrowing below 3mm should stay flat, which rules out most small text, thin scripts, and fine detail. Mixing puffed and flat elements in one logo is standard practice.
Pricing starts at $15 for designs under 5 inches, with larger or more complex designs quoted individually and a standard 2 to 4 hour turnaround.
Puff Is a Settings Problem
3D puff embroidery digitizing tips are worth very little separated from numbers. Pair 2mm foam with 5 to 6mm columns and 3mm foam with 7 to 10mm columns. Hold a 3mm floor on every puffed element. Raise density until the foam edge is fully enclosed, keep capping stitches between 2.0mm and 2.5mm, and remove any zigzag underlay from the puff areas entirely. Sequence flat elements before the foam stop, then test. For the pricing side of puff work, the puff cost breakdown covers what drives the quote.
Follow Us

RELATED BLOGS

The Secret Behind Embroidery Design Is Under the.
Published September 21, 2026 | By USA Digitizing Pro Team Ask a decorator why one garment came out clean and the next.

Best Fabric for Applique Embroidery: Pairing Guide 2026
Published August 17, 2026 | By USA Digitizing Pro Team There isn't one best fabric for applique embroidery and any answer that.
3 COMMENTS
[…] width should be converted to flat embroidery within the same design rather than forced into puff. the puff foam and width settings guide covers pairing column width to foam […]
[…] flat setting. On a curved panel the upper end of that range is usually the safer starting point. the puff foam and width settings guide covers the column width side of the same […]
[…] enough to enclose the foam edge. Elements too narrow to hold foam stay flat within the same design. the puff foam and width pairing guide covers the settings […]