

Iron On Patch Digitizing Requirements: What the File Needs to Get Right 2026
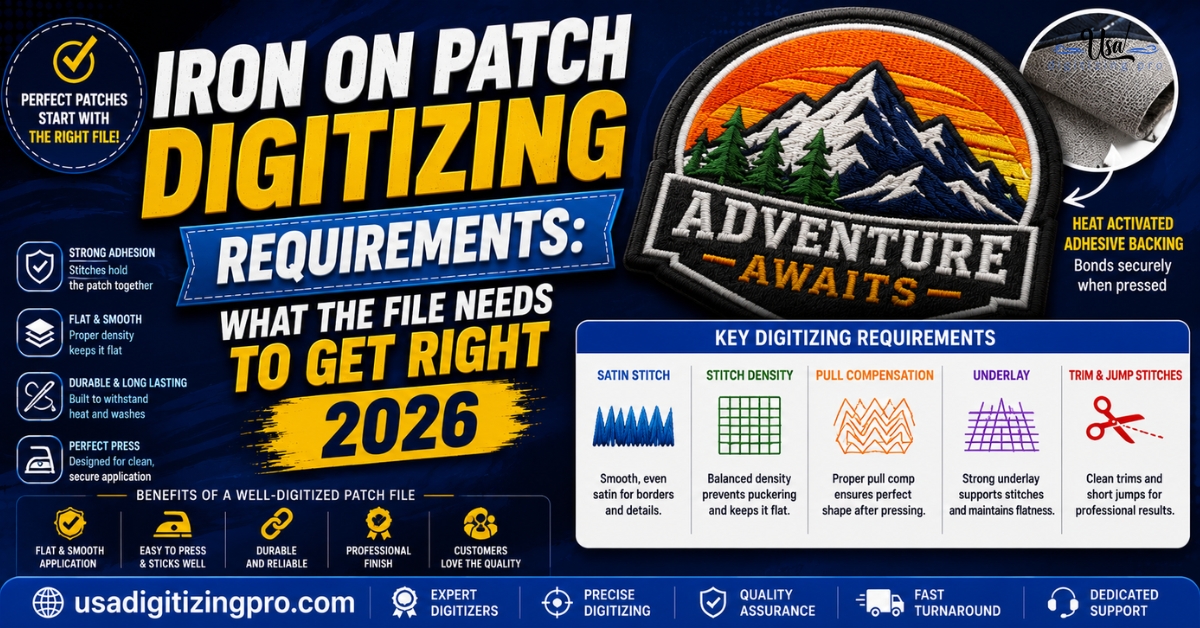
Iron-on patches look simple from the outside: stitched design, heat-bond backing, press and done. What decides whether one holds through a dozen washes or peels at the first corner has almost nothing to do with the iron and almost everything to do with the digitizing file underneath it. Iron on patch digitizing requirements cover the border type, the stitch density, and the backing material choice, all of which get locked in before the heat-seal adhesive ever touches fabric. Here’s what actually matters before you place that order.
Quick Answer at a Glance
What Iron-On Patch Digitizing Actually Involves
Iron-on patch digitizing: building an embroidery stitch file for a design that will later be finished with a heat-activated adhesive backing, allowing the patch to bond to a garment under an iron or heat press rather than being sewn on by hand. The digitizing file itself doesn’t know or care that iron-on backing is coming later. What changes is how the digitizer accounts for the extra stiffness that backing adds once it’s pressed into the finished patch.
The border run, the density, and the choice of backing substrate all get set with that added stiffness in mind. Get any of those wrong and the patch either won’t cut cleanly, won’t bond evenly, or puckers once the heat-bond layer is applied. For the wider range of border and backing decisions that apply across patch work generally, the patch chest digitizing overview covers how twill, felt, and canvas each behave differently under the needle.
The Border Requirement
Every iron-on patch needs a clean, finished edge before backing is applied, since a raw cut edge on a heat-bonded patch frays fast under normal handling. A satin stitch border, run at a minimum of about 3mm wide, is the standard approach for encasing the edge and preventing fraying. Merrowed borders, finished with a separate overlock pass after embroidery, are the other common option and tend to give a slightly more rounded, finished look on rectangular or shield-shaped patches.
The border has to be digitized correctly regardless of which style is used. A merrow border needs a clear margin, typically 3 to 4mm, left between the design elements and the cut edge so the overlock machine has room to work without cutting into the stitching. A satin border is built directly into the file as the outermost stitched element.
Stitch Sequencing for Iron-On Patches
Sequencing matters more on a patch file than on a direct-to-garment file. The standard order runs background fill first, then any design elements or text on top of that fill, and the border last. Running the border before the interior elements risks the fill stitching crossing over or distorting the border line, which shows as a ragged edge once the patch is cut and backed.
Stitch Density: Why Iron-On Patches Can Run Denser Than Garment Embroidery
Density on a patch can generally run higher than it would on a direct garment file, since there’s no garment fabric underneath compressing against the stitching the way a shirt or jacket would. That said, higher isn’t automatically better. Too much density on top of a heat-bond backing layer makes the finished patch stiffer than most buyers want, and can cause the patch to pucker or curl slightly at the edges once the adhesive is pressed and cooled. A digitizer balances density against how stiff the finished, backed patch needs to feel.
Why Backing Material Choice Changes the Digitizing File
Twill is the most common iron-on patch backing and takes a satin border cleanly at standard settings. Felt holds its shape well and needs less underlay support than a woven substrate. Canvas, used for heavier-duty patches, needs adjustments to counter its resistance to the needle, since a file built for twill run on canvas without changes tends to look under-stitched at the border.
Why Iron-On Backing Changes What the Patch Can Handle Later, Not What It Looks Like at Delivery
Here’s a distinction most digitizing guides skip. The heat-bond adhesive is applied after the embroidery machine finishes the patch, as a completely separate production step. The stitch file has no way to represent that adhesive, and doesn’t need to. What the file does need to account for is how the finished, backed patch will behave once it’s out in the world: whether it gets washed regularly, whether it sits somewhere exposed to repeated heat, and whether the border needs to survive rougher handling than a sew-on patch would. A digitizer who knows the patch is headed for iron-on use will lean toward a slightly wider, denser border for exactly that reason.
The Limits of Iron-On Backing
Iron-on backing is convenient, not permanent. The bond holds up fine under normal handling and occasional washing, but high heat from a hot dryer or repeated ironing directly over the patch weakens the adhesive over time, and heavy commercial laundering will loosen an iron-on bond faster than a sewn-on patch would come loose. For anything headed into daily heavy-wear use, like a uniform program or work jacket that gets washed weekly, a sew-on or merrow-finished patch generally outlasts an iron-on one.
What You’re Actually Paying For in an Iron-On Patch File
- A file built by hand, not run through auto-digitizing software
- Correct stitch sequencing: fill, then design elements, then border
- Border width and type matched to whether the patch will be merrowed or satin-finished
- Density and underlay calibrated to the backing material you specify
- Delivery in your required machine format, with free edits if the first version needs adjustment
Ordering Checklist Before You Submit Artwork
- Confirm the finished patch size in inches before digitizing starts.
- Specify the backing material: twill, felt, or canvas.
- Decide the border type: satin stitch border or merrowed edge.
- Confirm that iron-on backing is the intended finish, since a digitizer may lean toward a slightly wider border for it.
- Ask directly how the patch will hold up under regular washing if it’s headed for daily-wear use.
A Real Order, Broken Down
A small outdoor apparel brand in Colorado ordered iron-on patches for a limited jacket run, 150 units, with a compass rose design on twill backing. The first submitted artwork had fine detail lines inside the compass points that the digitizer flagged during review, since lines that thin wouldn’t hold cleanly at the 2.5 inch patch size once heat-bond backing added its usual stiffness.
The compass detail was simplified into four bold cardinal points instead of eight fine ones, and the border was set as a 3.5mm satin column to give the heat-bond layer a wider, sturdier edge to grip. The 150 patches pressed cleanly onto the jackets, and the brand reported no peeling complaints after the first wash cycle, which was the main concern going in.
Who Builds These Files
USA Digitizing Pro has built patch digitizing files, including those headed for iron-on backing, from its Texas studio since 2015. Every file is built by hand with border, density, and backing decisions matched to how the patch will actually be finished and used. Standard turnaround runs 2 to 4 hours, with pricing starting at $15 for designs under 5 inches. Every file carries a money-back quality guarantee.
Frequently Asked Questions
Most designs work, but very high stitch density combined with heat-bond backing can make a patch stiffer than expected and occasionally cause slight puckering at the edges. A digitizer aware the patch is headed for iron-on use will usually moderate density for exactly this reason.
They hold up well under normal handling and occasional washing. Regular high-heat drying or ironing directly over the patch weakens the adhesive bond faster than sew-on attachment would loosen, so heavy daily-wear items tend to do better with a sewn-on or merrow-finished patch instead.
A merrow border is finished by a separate overlock machine after embroidery, giving a rounded, corded edge. A satin stitch border is digitized directly into the file as the outermost stitched element. Both work for iron-on patches; the choice is mostly aesthetic and tied to the patch shape.
Yes, indirectly. Thicker backings like felt or canvas hold their shape well but can need a slightly longer, hotter press to fully activate the adhesive across the material. Twill, being thinner, bonds a bit more quickly and evenly under standard heat press settings.
Generally yes for occasional washing, though cold or warm water on a gentle cycle is safer than hot water. Repeated hot washing and high-heat drying is the main cause of iron-on patches loosening or peeling over time.
A properly digitized satin border, built at adequate width and density, holds up fine for most iron-on use cases. Merrow finishing adds a slightly more durable, corded edge but isn’t strictly necessary unless the patch is headed for particularly rough handling.
Most iron-on patches fall in the 2 to 4 inch range, similar to standard embroidered patch sizing. Larger patches need a proportionally wider border and stronger adhesive coverage to bond evenly across the full surface without lifting at the edges.
Fine detail below about 5mm tends to lose definition once heat-bond backing adds stiffness on top of the stitching. Bold shapes and letterforms simplified for the target size generally hold up more reliably than intricate linework.
A household iron works for light use, provided it reaches sufficient heat and even pressure is applied for the recommended time. A commercial heat press gives more consistent results across larger production runs and is generally recommended for bulk orders.
The same formats as any embroidery file: DST, PES, JEF, VP3, and others depending on the machine running the patches. The backing type doesn’t affect the file format, only the production step that follows embroidery.
Getting the File Right Before You Iron Anything
Iron on patch digitizing requirements come down to three decisions made before the first stitch: the border type and width, the density suited to the backing material, and whether the design’s detail level can survive the added stiffness heat-bond backing brings. Get those right and the patch holds up the way it’s supposed to. USA Digitizing Pro builds every patch file by hand, starting at $15 for designs under 5 inches, with a 2 to 4 hour turnaround and a money-back quality guarantee.
Follow Us

RELATED BLOGS
Silhouette Art Digitizing for Pet Portraits: Turning a.
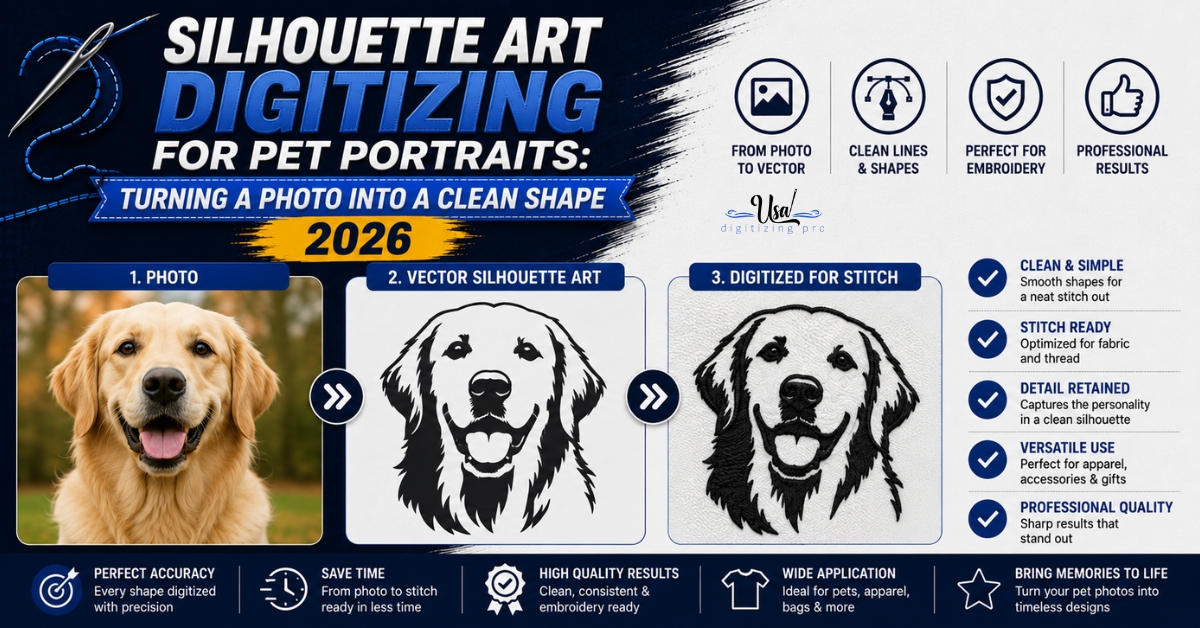
A pet photo has fur texture, shadow, and a busy background. A silhouette has none of that on purpose. Silhouette art digitizing.

Embroidery Digitizing Mistakes: The Setting Behind Each One.
Published August 17, 2026 | By USA Digitizing Pro Team Every list of digitizing mistakes names the same problems andalmost none of.