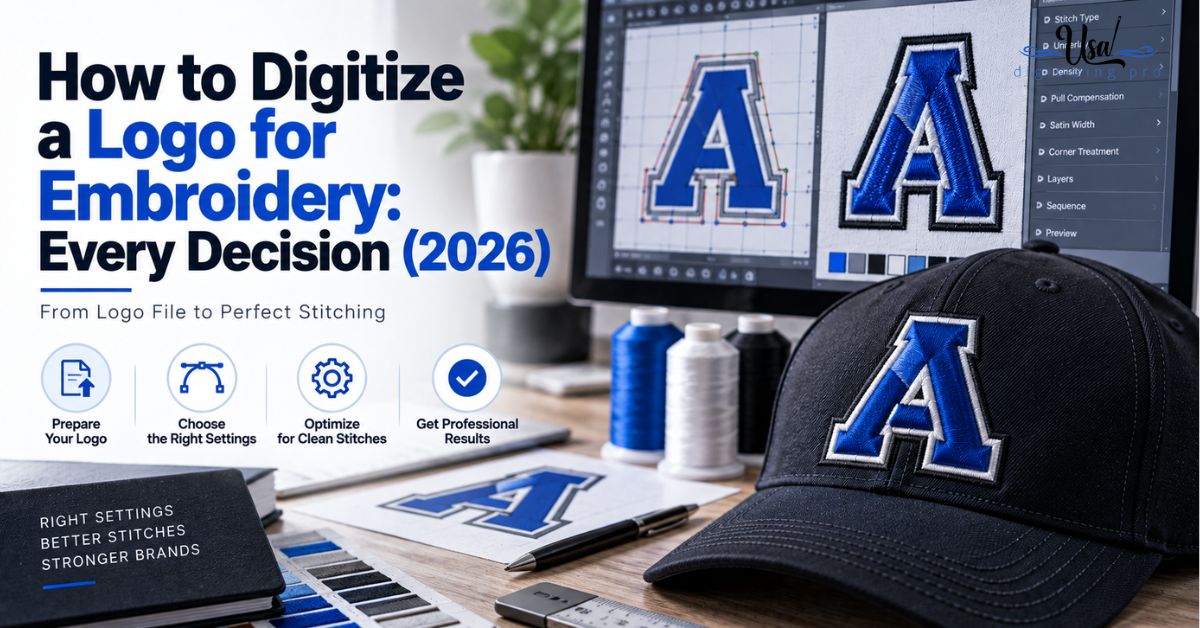
How to Digitize a Logo for Embroidery: Every Decision (2026)
Published September 11, 2026 | By USA Digitizing Pro Team
Digitizing a logo gets described as a sequence of steps, which makes it sound like following a recipe. It is closer to a series of decisions, each one needing specific information before it can be made correctly, and each one capable of ruining the file if it is guessed. Here is every decision in order, what it needs as input, and what goes wrong when the input is missing. If you are hiring this out rather than doing it, the last section is the one that matters most.
Quick Answer at a Glance
| Decision | What It Needs | What Breaks Without It |
|---|---|---|
| Design audit | Final size and fabric | Detail that cannot reproduce gets built anyway |
| Artwork prep | Vector file or 300+ DPI raster | Soft edges the digitizer has to guess at |
| Simplification | Knowledge of the brand’s core elements | Either clutter or loss of recognisability |
| File sizing | Exact placement dimensions | A design that does not fit or does not read |
| Fabric and underlay | The actual garment | Puckering the operator cannot fix |
| Stitch assignment | Element widths | Rough narrow lines, snagging wide satins |
| Test sew-out | The real production garment | Faults discovered at scale instead of at one |
Decision Zero: The Design Audit
Before any software opens, the logo gets assessed against what embroidery can physically do at the size requested. Skipping this is why some files are doomed before the first stitch is placed.
What Thread Cannot Reproduce
Gradients, soft shadows, photographic detail, and hairline strokes do not exist in thread. Each one has to be either converted into a solid colour block, simplified into a shape, or dropped. Deciding which happens here rather than discovering it halfway through the build. Tiny text is the most common casualty, since lettering that reads perfectly on a business card disappears at left chest scale. the settings behind common digitizing faults covers the specific size thresholds involved.
Size Decides Everything Downstream
The finished dimensions change what detail survives, which stitch types apply, how much underlay is needed, and how many stitches the design will carry. A logo digitized for a jacket back cannot be shrunk to left chest size, because detail that resolved at eight inches closes up at three. Confirming the final size before starting is the single most useful input in the whole process.
Preparing the Artwork
Two things matter about the source file, and they are easy to get right if they are considered before the logo is handed over.
Vector First, High Resolution Second
Vector formats like AI, EPS, and SVG are the gold standard because their edges stay crisp at any scale, so the digitizer traces a definite boundary rather than interpreting a soft one. A raster file works if it is high resolution, meaning 300 DPI or better at the intended size. Low resolution or heavily compressed images force guesswork that shows up as wandering outlines. converting a raster logo to clean vector paths is the standard fix when only a small JPG exists.
Simplifying Without Losing the Brand
Cropping out empty background and reducing unnecessary complexity both help, but simplification has a limit set by recognisability. The goal is removing what thread cannot carry while protecting the elements that make the logo identifiable. A brand’s distinctive shape and colour relationships survive. Its subtle drop shadow does not, and nobody will miss it.
Setting Up the File
With artwork ready, two setup decisions frame everything the rest of the build does.
Sizing to the Real Placement
The design gets sized to its actual finished dimensions on the garment, not to whatever looks comfortable on screen. Left chest, cap front, sleeve, and full back all have different available areas, and each needs its own file rather than a resized copy of another. the stitch count estimator walkthrough helps sanity check whether the design’s complexity suits the size it is headed for.
Choosing Fabric and Underlay
Underlay and density both get selected against the specific garment, since a stable woven, a stretchy knit, and a structured cap panel all behave differently under the needle. This is the decision that most commonly gets skipped when a file is reused across garment types, and puckering is the result. No machine adjustment corrects it afterward. the underlay settings explainer covers matching support to element and fabric.
Assigning Stitch Types Element by Element
This is the core of digitizing, and it is a per-element decision rather than a global setting. Three broad categories cover most logos.
Outlines and Fine Detail
Running stitches handle thin outlines, linear detail, and anything too narrow to support a satin column. Where a single run looks too light, doubling or tripling the same path adds weight without changing stitch type. This category uses the fewest stitches in the design by a wide margin.
Text and Borders
Satin handles lettering and narrow columns, producing the clean sheened edge that makes text readable. All text belongs in satin, and small text requires it absolutely, since fill patterns cannot resolve at small sizes. Width is the constraint, because wide satin columns mean long stitches that snag on wear. the stitch selection guide covers where those limits sit.
Large Areas
Fill covers broad shapes using short stitches in rows, which is why it has no size ceiling and no snagging problem. Within fill there are choices too, since direction and pattern change how the area reads. A shape whose form matters benefits from fill rows following its contour rather than cutting straight across it.
Sequencing and Colour Mapping
Two decisions that never show up in a screen preview and both affect what the production floor experiences.
Deciding the Stitch Order
The sequence determines how many times the machine stops for a colour change, how far the needle travels between elements, and how many jump stitches someone trims afterward. Grouping elements by colour and proximity is the principle. A file that wanders produces dozens of loose threads per garment and wastes runtime on every piece.
Assigning Thread Colours
Each colour in the design maps to a specific thread, ideally referenced by number rather than described by name so there is no ambiguity at production. Embroidery favours bold solid colours, so gradients that were flattened during the audit get assigned to the nearest single thread rather than approximated with blending. the file format guide covers delivering the finished file in the format your machine reads.
The Test Sew-Out
The last decision is whether to trust the file, and the only honest way to answer that is to stitch it.
What to Run It On
Run the test on the actual production garment, not on a convenient scrap of something similar. Fabric behaviour is exactly what the density and underlay decisions were built around, so testing on a different material tests the wrong thing. If the job covers multiple garment types, each one needs its own sample.
What to Look For
Check satin edges for gapping, fills for uneven density, small text for legibility, colour boundaries for gaps, and the fabric around the design for rippling. Then turn the garment over and count the jumps. Each of those maps back to a specific decision made earlier, which is what makes a test sew-out diagnostic rather than just reassuring.
If You Are Hiring Instead of Building
Most people searching this question are not about to buy digitizing software. They want to understand the process well enough to brief it properly, and a good brief genuinely changes what comes back.
What to Send Your Digitizer
- The artwork as vector if possible, otherwise the highest resolution version you have.
- The exact finished size in inches for the placement.
- The specific garment and fabric, by name rather than by category.
- The placement, such as left chest, cap front, or sleeve.
- The machine format you need, and the needle count if colour sequencing matters.
- Any brand colour references that have to be matched precisely.
A Real Order, Broken Down
A Texas brewery sent a logo for staff polos with no size specified, and the digitizer built it at a reasonable default. The logo included a small founding year beneath the wordmark, which resolved fine at the size assumed but not at the three inch width the brewery actually wanted. The rebuild was straightforward, though it cost a revision cycle and two days that a single line in the original email would have saved. The second round also swapped the polo file for a separate cap version, since the original had been built with woven shirt density that would have puckered on the knit. the six stage digitizing process covers what happens inside the studio once a complete brief arrives.
Who Builds These Files
USA Digitizing Pro hand digitizes logos from its Texas studio, auditing the artwork against the intended size before building, then setting stitch types, density, and underlay against the specific garment. Pricing starts at $15 for designs under 5 inches, with a 2 to 4 hour turnaround and a money-back quality guarantee. Service details are on the logo embroidery digitizing page.
Frequently Asked Questions
Vector formats like AI, EPS, or SVG are best because their edges stay crisp at any scale. A raster file works if it is 300 DPI or higher at the intended finished size.
Not properly. Converting artwork to a stitch file requires digitizing software, which is why most people either use free options like open source tools or hire a service rather than buying commercial software for one logo.
A professional service commonly turns a standard logo around within hours. Learning to do it yourself takes considerably longer, and a first attempt usually costs a garment.
Gradients, soft shadows, photographic detail, hairline strokes, and very small text. Each either has to be converted into a solid shape or dropped before digitizing begins.
Generally yes. Density and underlay are set for a specific fabric, and placement size differs between left chest, cap, sleeve, and back, so one file rarely serves them all correctly.
Because thread cannot reproduce fine gradients, shadows, or tiny detail at garment scale. Simplification removes what will not carry while protecting the elements that make the logo recognisable.
A sample stitched on the actual production garment before the full run. It reveals gaps, density problems, distorted detail, and thread breaks at the cost of one piece rather than the whole order.
Vector artwork, the exact finished size, the specific garment and fabric, the placement, the machine format you need, and any brand colours that must be matched precisely.
Usually because detail that could not be reproduced in thread was simplified, or because the file was built at a different size than the one you intended. Confirming size upfront prevents the second.
Pricing starts at $15 for designs under 5 inches, with larger or more complex designs quoted individually and a standard 2 to 4 hour turnaround.
Decisions, Not Steps
Knowing how to digitize a logo for embroidery means knowing what each decision needs before it can be made. Size before anything else, because it determines what detail survives. Fabric before density and underlay. Element width before stitch type. The real garment before trusting the file. Whether you build it yourself or send it out, the quality of what comes back tracks almost exactly with the quality of the information that went in.
Follow Us

RELATED BLOGS
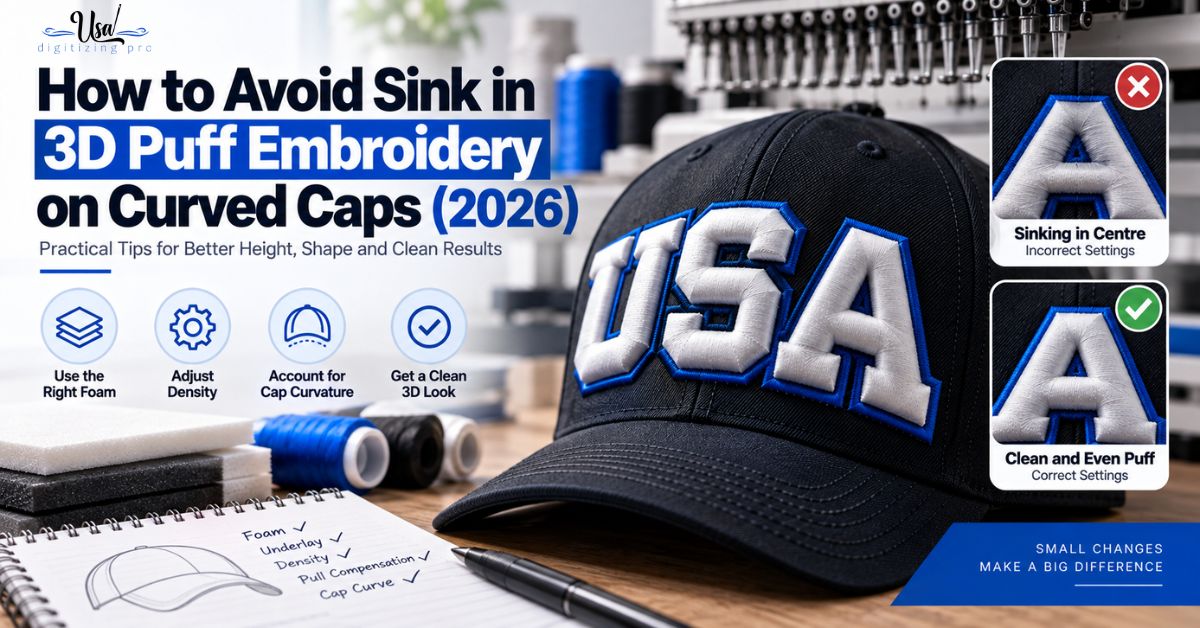
How to Avoid Sink in 3D Puff Embroidery.
Published September 11, 2026 | By USA Digitizing Pro Team A puffed logo that stands proud at the outer letters and loses.