

What Is Embroidery Digitizing? How Artwork Becomes a Stitch File
By USA Digitizing Pro Team | Published November 2026 | Updated November 2026
You have a logo. It looks sharp on your website and on your business card. Then an embroidery shop asks for a “digitized file” and you’re stuck. So what is embroidery digitizing, and why can’t the machine just read your JPG? This article explains it in plain words: what a stitch file is, what goes inside it, how it gets built and how to spot a bad one. If you’d rather skip the learning curve, our embroidery digitizing services turn your artwork into a machine-ready file for you.
Quick Answer
Embroidery digitizing is the process of turning a picture, such as a logo, into a stitch file that an embroidery machine can read. A digitizer decides every stitch type, direction, density and color change, then saves the result as a machine format like DST or PES.
| Question | Short answer |
|---|---|
| What is it? | Converting artwork into machine stitch instructions |
| What do you get? | A stitch file such as DST, PES, JEF, VP3 or EMB |
| Can software do it automatically? | Auto tools exist, but results need manual correction for clean sew-outs |
| How long does it take? | About 2 to 4 hours for a standard design at USA Digitizing Pro |
| What does it cost? | From $15 for designs under 5 inches at USA Digitizing Pro |
| Do you need it for every design? | Yes. Every new design and every new size or placement needs its own file |
Need a file today? Email your artwork to art@usadigitizingpro.com. Designs under 5 inches start at $15 and come back in 2 to 4 hours, built by hand. Get your logo digitized.
What Does Embroidery Digitizing Mean?
Embroidery digitizing means rebuilding a design as a set of stitch commands. The machine follows those commands one needle drop at a time, so the file controls how the finished embroidery looks.
A screen shows color in pixels. A needle can’t do that. It can only go down, come up and move to the next point. So someone has to tell the machine where every point is, which way the thread travels and when to stop for a new color. That someone is the digitizer, and the instructions they create are the stitch file.
People also call it “punching.” The word comes from the early days of the trade, when designs were stored on punched paper tape. The job is the same today, just done in software.
What Is Inside a Stitch File?
A stitch file holds coordinates and commands, not a picture. Each stitch has a position, and the file adds commands for trims, jumps and color changes.
Stitch types
Three stitch types do most of the work. A run stitch is a single line of thread used for outlines and fine detail. A satin stitch is a tight zigzag that fills narrow shapes like letters and borders. A fill stitch (also called tatami) covers wide areas with rows of stitches. Picking the wrong one is a common reason text looks fuzzy. Our post on types of embroidery stitches shows each one in more detail.
Underlay
Underlay: a hidden layer of stitches sewn first to hold the fabric flat and give the top stitches a base. Without underlay, the top stitches sink into the fabric or the edges look ragged.
Pull compensation
Thread pulls fabric inward as it sews. Pull compensation is extra width the digitizer adds to a shape so it ends up the right size after the fabric pulls. It’s set differently for a stiff cap than for a stretchy polo.
Density, trims and color stops
Density is how close the stitch rows sit. Too dense and the fabric puckers or the needle breaks thread. Too loose and the fabric shows through. Trims cut the thread between sections, and color stops tell the machine (or the operator) to switch thread.
How Does the Digitizing Process Work, Step by Step?
A good digitizer follows the same order on every job. Each step builds on the one before it.
- Review the artwork, the final size and the garment, and flag small text or fine lines that won’t stitch cleanly.
- Plan the stitch order so the machine moves from one section to the next with as few jumps and trims as possible.
- Build each shape with the right stitch type, angle and underlay.
- Set density and pull compensation for the fabric, such as a cap, a knit polo or a patch twill.
- Check path logic, trims and color sequence on screen, using a stitch simulation.
- Export the file in the format your machine reads and deliver it with a preview.
At USA Digitizing Pro, those six steps happen by hand, with no auto-digitizing tools, and most files are delivered in 2 to 4 hours. For a closer look at a logo job, see our logo digitizing process walkthrough.
Manual Digitizing vs Auto Digitizing: What’s the Difference?
Manual digitizing means a person builds each object and sets every value. Auto digitizing means software traces the image and guesses. The table below shows where the two split.
| Factor | Manual digitizing | Auto digitizing |
|---|---|---|
| Who decides stitch types | A trained digitizer | Software, based on color areas |
| Small text | Rebuilt as clean satin letters | Often turns into fill blobs |
| Underlay and pull compensation | Set for the fabric | Default values, rarely matched |
| Stitch path | Planned to cut trims and jumps | Many extra jumps and trims |
| Run time on the machine | Shorter | Often longer |
| Best for | Production logos, caps, patches | Quick tests, simple shapes |
Auto tools can be fine for a hobby project. For a run of 48 polos or 100 caps, a missed underlay setting shows up on every piece.
Which Embroidery File Formats Exist?
Each machine brand reads its own format, so the digitizer exports the one you ask for. The most common are:
- DST: Tajima and most commercial multi-head machines.
- PES: Brother home and semi-commercial machines.
- JEF: Janome machines.
- VP3 and VIP: Husqvarna Viking and Pfaff.
- EXP: Melco and Bernina systems.
- EMB: Wilcom’s editable working file, used by studios for later edits.
USA Digitizing Pro sends several formats in one order at no extra charge, which helps shops running more than one brand. Our embroidery file format breakdown covers each format by machine brand.
Why Can’t You Just Send a JPG or Vector File to the Machine?
The machine can’t read pictures at all. A JPG holds pixels and a vector file holds shapes, but neither contains stitch directions, underlay or trim commands. A clean vector file is still a great starting point because it gives the digitizer sharp edges and exact colors. If you only have a blurry JPG, it helps to rebuild it first with our vector art services. Then the stitch file gets built from clean shapes. You’ll find free “JPG to PES” converters online. They change the file type, but they don’t plan stitches the way a person does. We tested what those tools miss in our post on how to convert JPG to PES.
How Does the Garment Change the File?
The same logo needs different files for different garments and placements. Fabric, curve and size all change the settings. A cap front is curved and has a stiff center seam. Files for caps are built from the center outward, and most structured caps take a design up to about 5 inches wide and 2.25 inches tall. That’s why cap digitizing is its own job.
A left chest logo usually runs 3 to 4 inches wide, so small text needs extra care. See our left chest digitizing page for size details. Patches stitch onto separate backing and need a border the cutter can follow, which is covered on our patch digitizing services page. Raised foam designs need a different build again, explained in 3D puff digitizing.
Here’s the thing. Shrinking or stretching a finished file in machine software doesn’t rebuild it. The stitch count stays the same while the space changes, so density goes wrong. A new size should get a rebuilt file.
What Should You Send Your Digitizer?
Good input saves time and revisions. Send these with every order:
- The clearest artwork you have (AI, EPS, SVG, PDF or a large PNG).
- The final size in inches, width or height.
- The garment and placement: cap front, left chest, sleeve, jacket back or patch.
- The fabric if it’s unusual, such as fleece, performance knit or leather.
- Your machine brand or the file format you need.
- Thread colors or Pantone references, if your brand has them.
What Does Digitizing Cost and How Long Does It Take?
Price depends mostly on size and detail. At USA Digitizing Pro, designs under 5 inches start at $15; we quote larger or more detailed designs before work starts. Standard turnaround is 2 to 4 hours.
First-time customers get rush service free. Edits after delivery are free too, and every file carries a money-back guarantee on quality issues. For a full breakdown of what moves the price, read our logo digitizing pricing for small businesses post.
Example: a bakery sends a two-color logo for staff polos and one owner’s cap. The polo left chest file fits the $15 starting rate. The cap needs its own file because of the curve and seam, so the order has two files. Both arrive inside the same 2 to 4 hour window. (This is an illustration of how a typical small order is priced, not a specific customer.)
How Do You Spot a Badly Digitized File?
Most problems blamed on the machine start in the file. The table pairs common faults with the setting that usually causes them.
| What you see | Likely cause in the file | Fix |
|---|---|---|
| Puckered fabric around the design | Density too high or no underlay | Lower density, add underlay |
| Gaps where fabric shows through | Density too low or pull compensation missing | Tighten density, add compensation |
| Fuzzy, closed-up small letters | Text built as fill, or below about 4mm tall | Rebuild as satin or enlarge |
| Frequent thread breaks | Stitches too short or too dense in one spot | Adjust stitch length and density |
| Outline doesn’t line up with fill | No pull compensation | Widen shapes, adjust sequence |
| Long run time and many trims | Poor stitch path | Re-plan object order |
More fixes live in our post on common embroidery digitizing mistakes and the one on how to stop embroidery from bunching.
Want to learn to do it yourself instead? Our next step guide on how to digitize embroidery designs walks through the software side.
About the Author
USA Digitizing Pro Team. Our digitizers have built stitch files by hand for embroidery shops, apparel brands and promotional companies across the USA since 2015. We work on logos, caps, patches, 3D puff and applique files every day, and every file is checked before delivery.
FAqs About What is embroidery digitizing
No. Converting only changes a file from one stitch format to another, like DST to PES. Digitizing builds the stitches in the first place. A converter can’t fix a badly built file, and a renamed JPG isn’t a stitch file. If your design has never been stitched before, it needs digitizing, not conversion.
You can try. Free and trial software can auto-trace simple shapes, and some machine brands bundle basic tools. The catch is time and quality.
Basic shapes and text can be learned in a few weeks of regular practice. Clean, production-ready files for caps, small lettering and puff take much longer, often months of daily work. Most shops outsource complex designs even after they learn the basics, because the time spent fixing files costs more than the digitizing fee.
Yes, for any real change in size. A file built for a 3.5 inch left chest won’t stitch the same at 10 inches on a jacket back. The machine can scale it, but density, stitch length and underlay don’t adjust properly.
Professional studios mostly use dedicated programs such as Wilcom, Pulse or Hatch. Brother and other machine makers offer their own software for home users. The program matters less than the person using it. Two digitizers with the same software can produce very different results on the same logo.
Get Your Design Digitized
Now you know what embroidery digitizing is: a hand-planned map of every stitch your machine will sew. A good file saves thread, time and garments on every run. If you’d like USA Digitizing Pro to build yours. email and call us
Follow Us

RELATED BLOGS
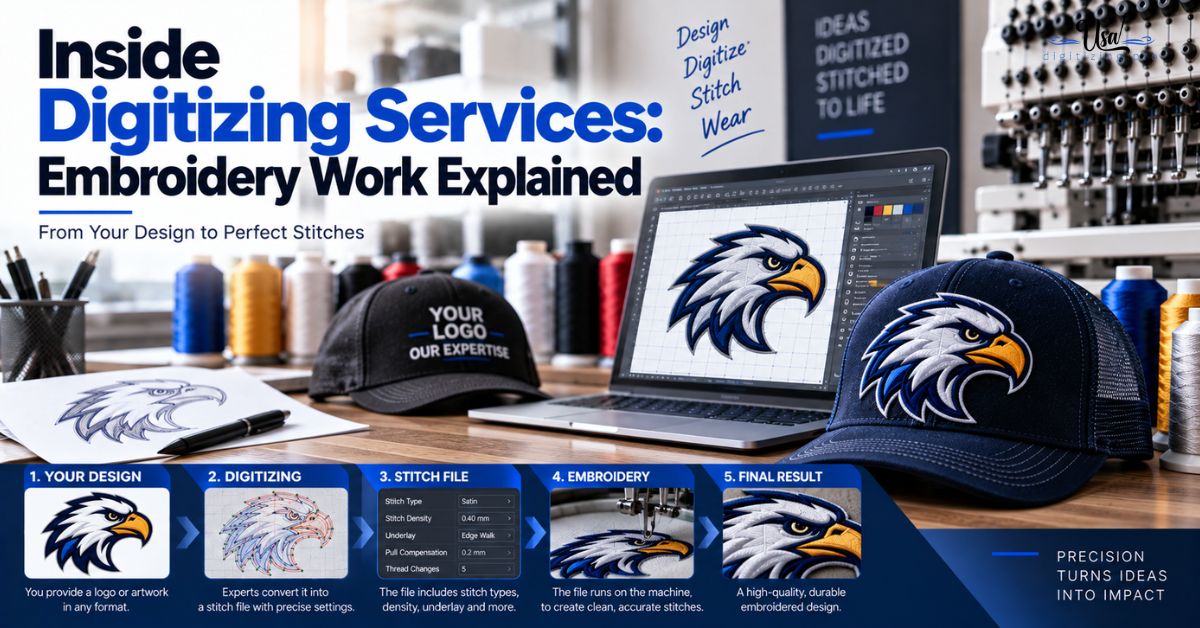
Inside Digitizing Services: Embroidery Work Explained 2026
Published September 21, 2026 | By USA Digitizing Pro Team Send the same logo to three digitizing studios and you will get.
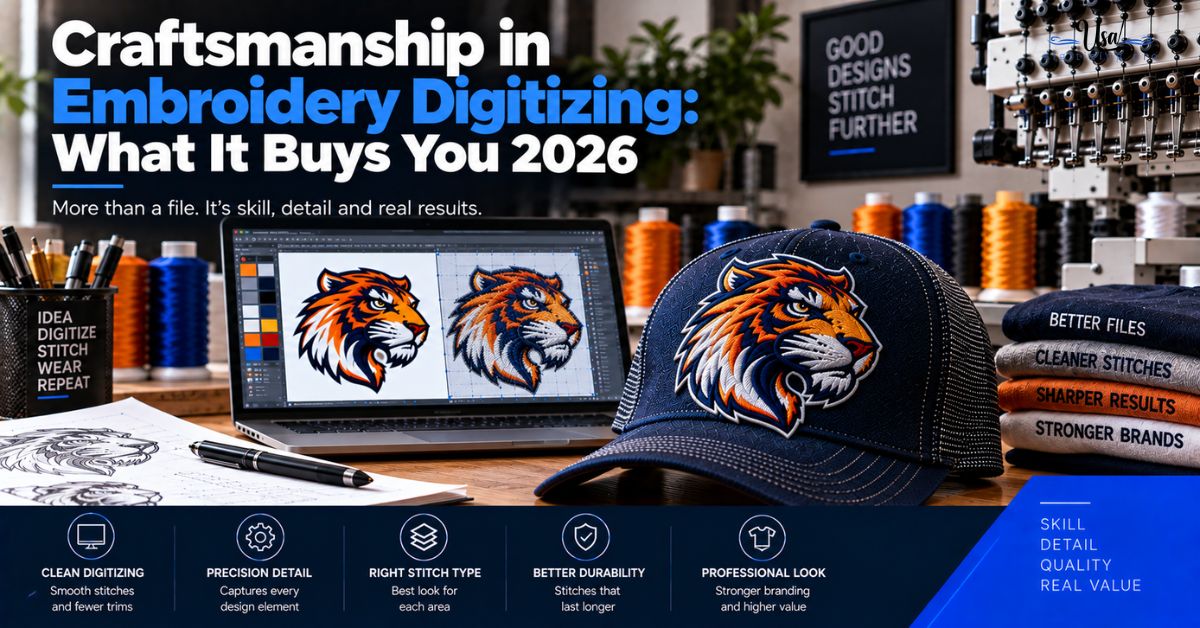
Craftsmanship in Embroidery Digitizing: What It Buys You.
Published October 2, 2026 | By USA Digitizing Pro Team Every digitizing provider on the internet claims craftsmanship, which makes the word.
1 COMMENT
[…] to the whole idea? Read what is embroidery digitizing first. Once you know what a stitch file actually holds, the steps below click into place much […]