

Left Chest Embroidery Problems: Placement Fixes That Work 2026

Published August 17, 2026 | By USA Digitizing Pro Team
A left chest logo that sits crooked, rides too high or lands in a slightly different spot on every shirt in the batch is not bad luck. Each of those is a measurement failure with a specific cause and almost all of them come back to which reference point the operator measured from. Left chest embroidery problems get much easier to solve once you separate the placement failures from the distortion failures, because they have completely different fixes.
Quick Answer at a Glance
| Problem You See | Usual Cause | The Fix |
|---|---|---|
| Logo looks crooked on the body | Aligned to the tape rather than to the garment | Align to the placket or pocket the eye reads |
| Logo sits too high or too low | Measured from the collar instead of the shoulder seam | Anchor at the shoulder seam intersection |
| Placement varies across the batch | Reference point changed between sizes or styles | Use one fixed anchor plus a template |
| Logo crowds the button placket | Horizontal distance not measured | Keep 3 to 5 inches from center front |
| Fabric puckers around the design | Density or stabilizer wrong for the knit | Rebuild density, switch to cutaway backing |
| Design distorts on the polo only | File built for a woven, not a knit | Garment specific file |
Fix the Reference Point Before Anything Else
Most placement complaints resolve at this step alone. If two operators measure from different points, they will produce different results even following the same instruction sheet, so settling the anchor is the first thing to standardize.
Why the Shoulder Seam Beats the Collar
Collars vary. A polo collar, a crew neck and a button down collar all sit differently, so measuring down from the collar produces a different drop on every style. The shoulder seam is consistent across garments, which makes the intersection of the collar and shoulder seam the reliable anchor point. Measure from there every time, then check symmetry by eye against the sleeves before hooping.
Measuring the Horizontal Position
Vertical drop gets all the attention while horizontal position causes just as many complaints. The standard is roughly 3 to 5 inches from the center front, meaning the placket or button line or centered between the placket and the side seam. Skipping this measurement is why logos end up crowding the buttons on one shirt and drifting toward the armhole on the next. the left chest sizing guide covers how design width interacts with these horizontal limits.
US Standard Measurements by Garment Type
One drop measurement does not fit every garment, which is a common source of inconsistency in shops running mixed programs. These are the standard ranges used across US decoration, measured down from the left shoulder seam.
| Garment | Drop From Shoulder Seam | Notes |
|---|---|---|
| Polos and structured shirts | 7 to 9 inches | Most common commercial placement |
| T shirts | 3 to 4 inches below the seam | Sits higher due to the softer, lower neckline |
| Hoodies and sweatshirts | 5.5 to 8 inches | Adjust for pocket and drawstring position |
| Women’s cut garments | 5 to 7 inches | Typically 1 to 2 inches higher than men’s |
Polos and Structured Shirts
Polos and button downs take the deepest drop, generally 7 to 9 inches from the shoulder seam, centered between the placket and the side seam. On button downs without a pocket, that horizontal centering matters more than usual because there is no other visual feature for the eye to reference.
T Shirts
T shirts sit noticeably higher, around 3 to 4 inches below the shoulder seam. Applying the polo standard to a tee drops the logo toward the middle of the chest, which reads as clearly wrong even to someone who has never measured a placement in their life.
Hoodies and Sweatshirts
Hoodies run 5.5 to 8 inches from the shoulder seam, with the range reflecting how much the front pocket and drawstring position vary between styles. Check the pocket top before committing, since a logo that clears the pocket on one hoodie may not clear it on another.
Women’s Cut Garments
Women’s garments generally place 5 to 7 inches from the shoulder seam, roughly 1 to 2 inches higher than the men’s equivalent, because the shorter body length and different shaping change where the visual center of the chest panel falls. Running the men’s measurement on a women’s cut is a frequent cause of logos sitting low.
Placement Problems and What Causes Each
With the anchor and the numbers settled, the remaining placement complaints fall into four patterns, each with a distinct cause.
The Logo Sits Crooked or Tilted
A logo can be measured perfectly and still look crooked, which frustrates operators who checked their work. That happens when the garment’s own features are slightly off square and the logo was aligned to the measuring tape instead. The eye compares the logo to the placket and the pocket, not to an imaginary vertical line.
The Logo Sits Too High or Too Low
Almost always a reference point problem. Measuring from the collar, from the top of a curved neckline or from an inconsistent point on the shoulder produces drop errors that vary by style. Anchoring at the shoulder seam intersection and using the garment specific range above eliminates this category.
Placement Drifts Across the Batch
When placement wanders across a run, someone is measuring fresh on each garment or the reference changed between sizes and styles. A gridded placement template or a hoop with alignment marks removes the variability, since it turns a measuring task into a positioning task. Marking true center with a water soluble pen before hooping helps on garments with no clear visual anchor. the polo versus button up file comparison covers how these two garment types differ beyond just placement.
The Logo Crowds the Placket
This is purely the horizontal measurement being skipped. Keeping 3 to 5 inches from the center front or centering between placket and side seam, prevents it. Wider logos need this checked carefully, since a design at the upper end of the typical 3 to 3.75 inch width has less room to spare before it encroaches.
Garment Features That Override the Standard
Standard measurements assume a plain chest panel. Real garments have pockets, plackets that are not perfectly square and patterns and each of those takes priority over the tape measure.
Pockets
The rule is to place the logo above the pocket rather than on it or overlapping its edge. Stitching across a pocket seam causes puckering, misalignment and a cluttered result and it can sew the pocket shut in the worst case. On garments where the standard drop would land on the pocket, the logo moves up rather than the pocket being ignored.
Crooked Plackets and Seams
When a garment’s placket or pocket is slightly off square, which is common on lower cost blanks, align the logo to that feature rather than to true vertical. A logo that measures perfectly but sits at a visible angle to the placket looks wrong, while one aligned to the placket looks correct even though the tape would disagree. The eye wins.
Stripes and Patterns
Striped and patterned garments give the eye a strong horizontal reference, so any misalignment reads immediately. On these, align to the stripe rather than to the measured drop, adjusting slightly so the logo sits square to the pattern the viewer is actually seeing.
When the Problem Is Distortion, Not Position
Puckering, warping and gapping are not placement problems even though they get reported alongside them. These come from the file or the stabilizer and moving the logo will not help.
Puckering on Knit Polos
Polo knit stretches where a woven shirt holds still, so a file built for a woven commonly puckers on a polo regardless of how carefully it was placed. Cutaway stabilizer rather than tear away is the production side fix and reducing density is the file side fix. the bunching diagnostic guide covers the isolation test that separates file causes from hooping causes.
Design Too Dense for the Fabric
A left chest logo packed with detail at 3 to 4 inches wide carries a lot of stitches into a small area of soft fabric. If the design was not simplified for the placement size, the density alone distorts the panel. Detail that works on a jacket back does not automatically work at left chest scale. the settings behind common digitizing faults covers how density and size interact.
Getting Consistency Across a Full Run
Consistency is a process problem more than a skill problem. These steps remove the variables that cause placement to drift between the first garment and the hundredth.
Production Checklist
- Fix one anchor point for the whole run, the collar and shoulder seam intersection.
- Look up the drop range for the specific garment type rather than using one number for everything.
- Measure the horizontal position, keeping 3 to 5 inches from center front.
- Check for a pocket and move the logo above it if the standard drop conflicts.
- If the placket or pattern is off square, align to that feature rather than to the tape.
- Use a gridded template or marked hoop so every garment repeats the same position.
A Real Order, Broken Down
A Texas uniform supplier ran a mixed program of polos and tees with one placement instruction for both, measured down from the collar. The polos landed acceptably. The tees came out with logos sitting near the middle of the chest, because a tee’s neckline is lower and its correct drop is 3 to 4 inches from the shoulder seam rather than the 7 to 9 used on polos. Switching the anchor to the shoulder seam and splitting the instruction by garment type fixed it. Separately, the polos showed light puckering that had nothing to do with placement, which traced to a file built for their woven work shirts. the step by step digitizing process covers how garment type feeds into the build from the start.
Who Builds These Files
USA Digitizing Pro builds left chest files from its Texas studio, matching density, underlay and detail level to the specific garment rather than reusing one file across knits and wovens. Pricing starts at $15 for designs under 5 inches, with a 2 to 4 hour turnaround and a money back quality guarantee. Service details are on the left chest digitizing page.
Frequently Asked Questions
It depends on the garment. Polos and structured shirts take 7 to 9 inches down from the left shoulder seam, t shirts 3 to 4 inches below the seam, hoodies 5.5 to 8 inches and women’s cuts 5 to 7 inches.
The shoulder seam. Collar styles vary between garments so measuring from the collar produces a different drop on every style, while the shoulder seam stays consistent.
Roughly 3 to 5 inches from the center front placket or centered between the placket and the side seam.
Because the garment’s placket or pocket is slightly off square and the logo was aligned to the tape rather than to that feature. The eye compares the logo to the placket, so aligning to the garment feature looks correct even when the measurement says otherwise.
Above the pocket, never on it or overlapping its edge. Stitching across a pocket seam causes puckering and misalignment and can sew the pocket shut.
Typically 3 to 4 inches wide, with most commercial left chest embroidery falling in the 3 to 3.75 inch range.
Usually because each garment is being measured fresh or the reference point changed between sizes and styles. A gridded template or a hoop with alignment marks makes the position repeatable.
Yes, generally 1 to 2 inches higher than the men’s equivalent, around 5 to 7 inches from the shoulder seam, because the shorter body length shifts where the chest panel’s visual center falls.
Polo knit stretches where woven fabric holds still, so a file built for a woven carries density and underlay that the knit cannot support. This is a file problem rather than a placement problem.
Pricing starts at $15 for designs under 5 inches, with larger or more complex work quoted individually and a standard 2 to 4 hour turnaround.
Placement Is a Measurement Discipline
Left chest embroidery problems separate cleanly into two piles. Position failures come from the reference point, the garment specific drop or ignoring a pocket or placket that the eye reads before any tape measure does. Distortion failures come from the file and the stabilizer and will follow the logo wherever it is placed. Sorting which pile a complaint belongs in takes seconds and saves rerunning the wrong fix.
Follow Us

RELATED BLOGS
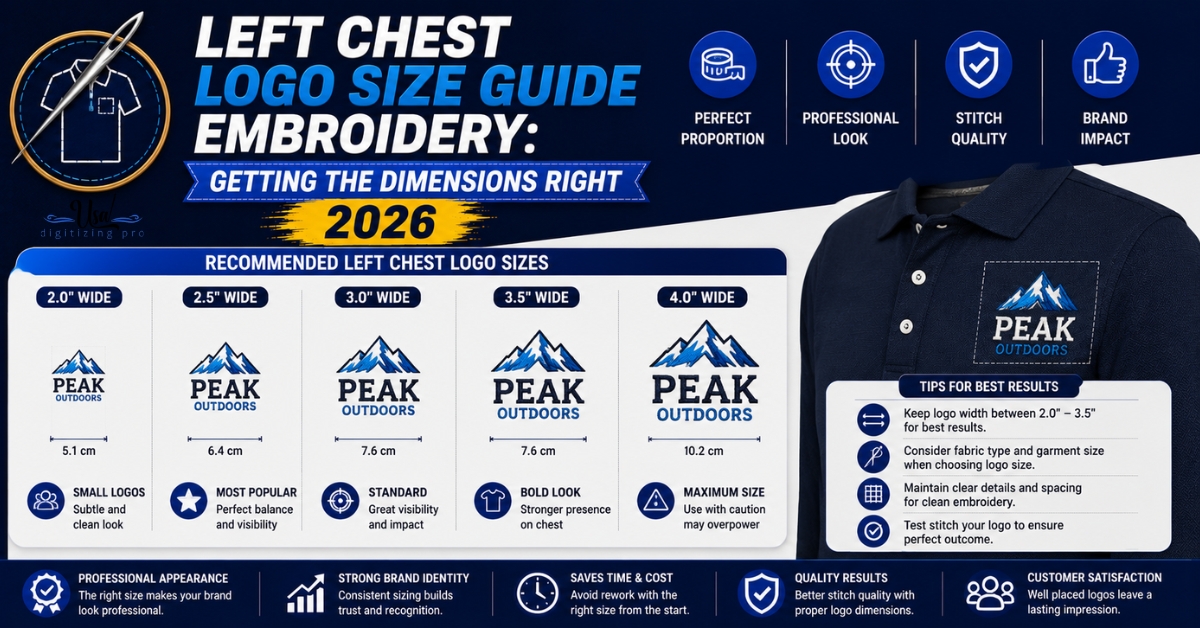
Left Chest Logo Size Guide Embroidery: Getting the.
Order a left chest logo at the wrong size and you don't just get a placement that looks off. You get a.

Vector Artwork for Screen Printing vs Embroidery: One.
Published July 11, 2026 | By USA Digitizing Pro Team Ask a screen printer and an embroidery shop what they need from.